
Last updated November 21, 2026
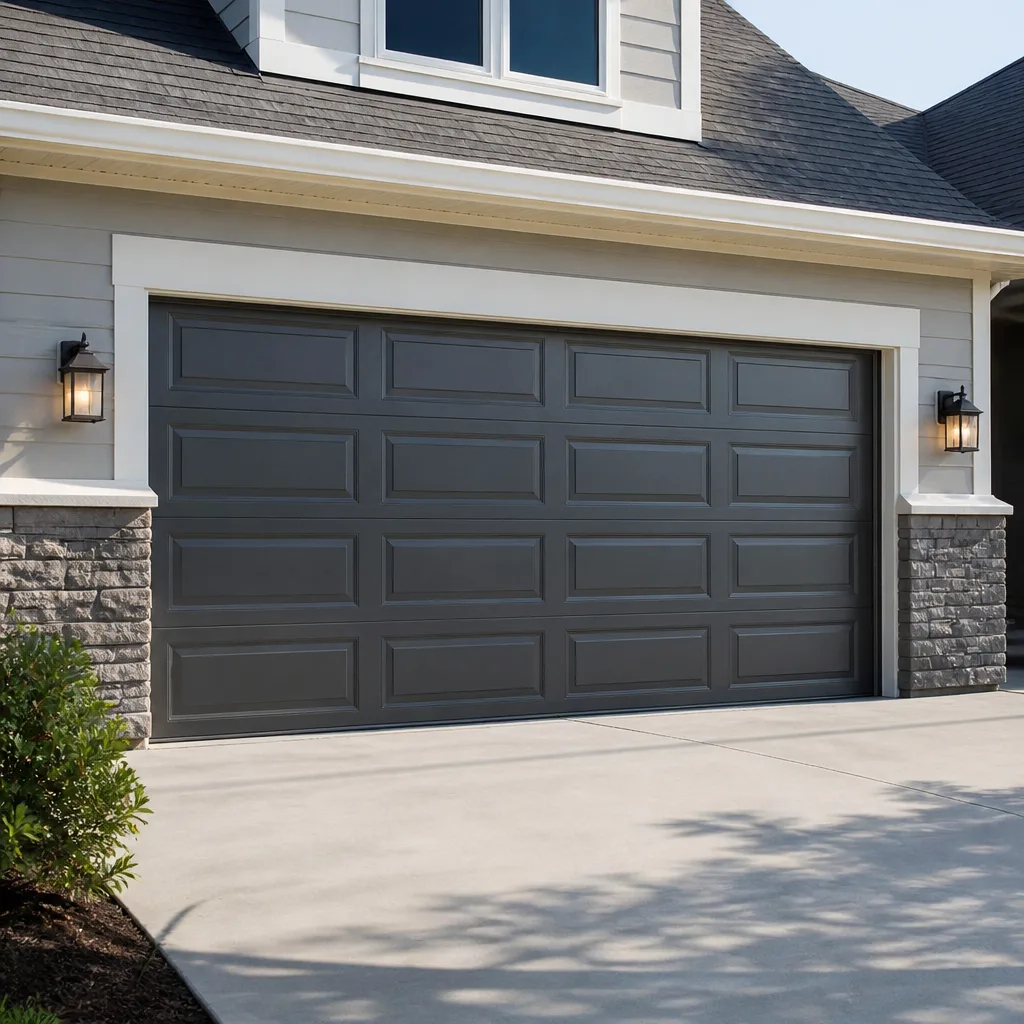 Raised-panel steel
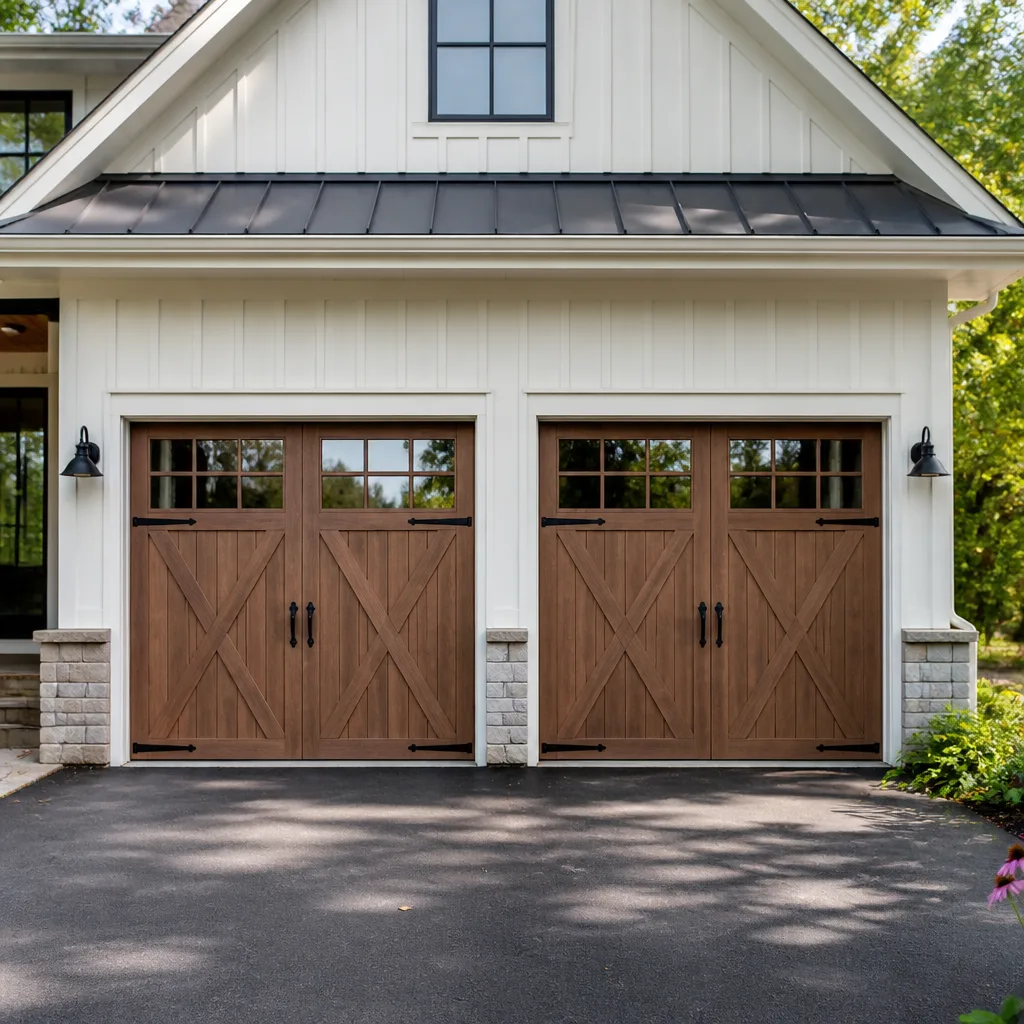 Carriage house
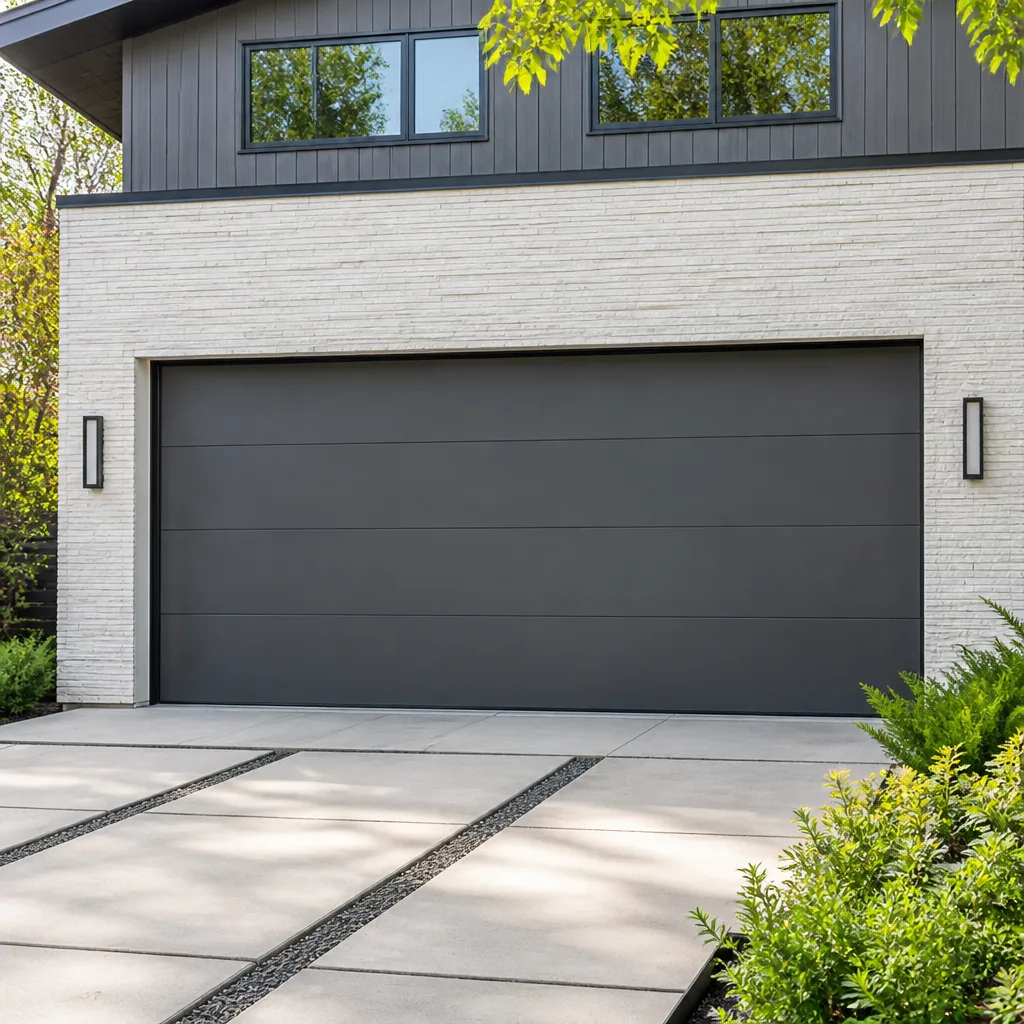 Modern flush
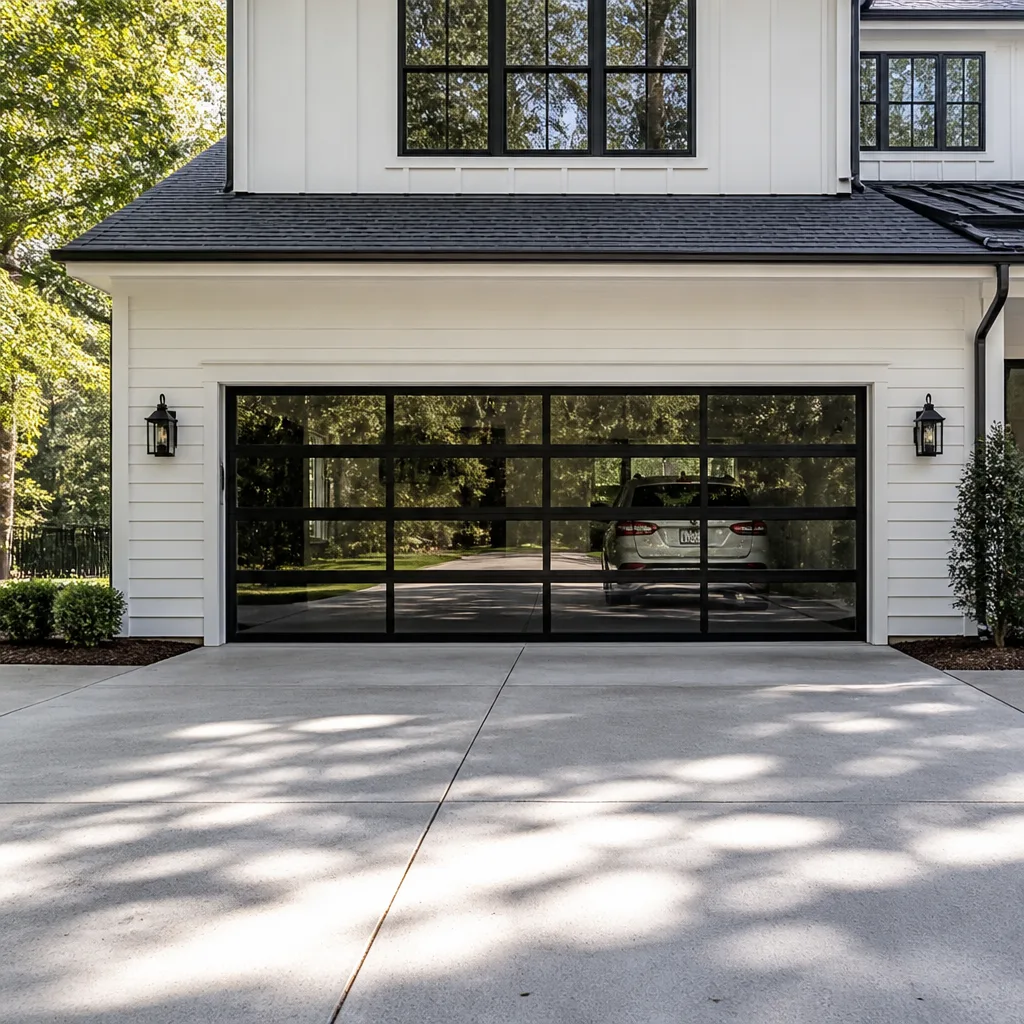 Full-view glass
 LiftMaster openers
 Chamberlain openers
Full 25-point door and opener safety check with every visit - springs, cables, rollers, tracks, and your LiftMaster or Chamberlain opener included
You get a price before we start. It does not change when the pro arrives.
Get your free estimateDIY vs Professional Garage Door: The Elmhurst Homeowner’s Decision Guide
Most guides to garage door repair split the world into “easy jobs” and “leave it to the pros.” That framing misses the actual reason so many homeowners around Elmhurst get hurt or waste a weekend: it isn’t skill level, it’s stored energy. A wound torsion spring holds enough force to break a wrist or send a winding bar through drywall if it slips, and no video prepares your hands for that. Extension springs fail differently but just as hard. At the same time, plenty of garage door work is genuinely simple and worth doing yourself. This guide draws the line task by task, then covers costs and when to call.
Quick Answer
In a garage door, the DIY-safe tasks are lubrication, photo-eye and sensor alignment, opener force and limit adjustment, seal replacement, and minor cosmetic panel work. The tasks that should always go to a trained professional are torsion spring winding or replacement, cable replacement under tension, and bottom bracket removal, because each involves stored force that can cause serious injury in a fraction of a second. Everything else, from opener programming to a MyQ setup, you can handle yourself with the manual.
Styles & brands we work with
- Raised-panel steel
- Carriage house
- Modern flush
- Full-view glass
- LiftMaster openers
- Chamberlain openers
Table of Contents
- Where the DIY Line Actually Falls
- Why Torsion Spring Work Isn’t a DIY Job
- Extension Springs: A Different Risk Profile
- What LiftMaster and Chamberlain DIY Really Covers
- The Elmhurst Layout Factor: Narrow Shared Driveways
- Cost Reality: Where DIY Saves and Where It Doesn’t
- A Step-by-Step Diagnostic Before You Decide
- The Safety Rules That Apply Either Way
Where the DIY Line Actually Falls
The dividing line isn’t how complicated a task looks. It’s whether the part you’re touching is holding tension at the moment you touch it. That single question sorts nearly every garage door job into one of two columns.
Here are the tasks we consider reasonably safe for a homeowner with basic tools and patience:
- Lubrication. Rollers, hinges, the torsion bar bearing plates, and the opener rail. A garage door lube spray and ten minutes keeps things quiet and reduces wear.
- Photo-eye and safety sensor alignment. If the door reverses right after closing, the sensor lens is usually knocked out of alignment or blocked. Straightening the bracket and wiping the lens fixes most of these.
- Opener force and limit switch adjustment. These are covered in the owner’s manual and involve small turn-by-turn adjustments.
- Weather seal and bottom seal replacement. Pulling a worn bottom seal out of its retainer and pressing a new one in is straightforward.
- Cosmetic panel work. Small dents, paint touch-ups, and hinge screw tightening.
- Opener programming and Wi-Fi setup. Remote pairing, keypad codes, battery replacement, and LiftMaster myQ setup all live in the manual.
And here are the tasks that should always go to a trained technician:
- Torsion spring winding, unwinding, or replacement. This is the one that ends up in the emergency room.
- Cable replacement. Cables carry the door’s full weight in tension; a cable under load can slice through a hand.
- Bottom bracket removal. The bracket anchors the cable, and it holds that tension until the door is fully relaxed and secured correctly.
- Track realignment after a door has come off-track. A sprung door can be unstable mid-adjustment.
- Full door replacement or new installation. Measuring, ordering, and aligning a new door is a two-person job that needs the correct spring calibration for the door’s weight.
Why Torsion Spring Work Isn’t a DIY Job
A wound torsion spring stores roughly 100 foot-pounds of torque, and that energy is looking for a way out the entire time you’re near it. Winding bars are the tool that keeps it under control. If a bar slips out of a winding cone mid-turn, the spring unwinds violently in a fraction of a second, and the bar flies. Injuries range from broken wrists and fingers to much worse. This is not a “follow the steps carefully” situation; it’s a “you either have the right tooling and know the failure modes or you don’t” situation.
The mechanics are worth understanding even if you never touch a spring. A torsion spring is wound to a specific number of turns that matches your door’s weight. Too few turns and the door is heavy and the opener strains. Too many and the door lifts itself and the cables go slack. The winding cone needs a precisely matched pair of bars to hold tension while you set the second one. If your home has a two-spring setup and only one is broken, the second is usually near the end of its life too, which is why technicians almost always recommend replacing both as a matched pair.
That said, spring work is routine for a trained technician with the right tools. Our team handles torsion and extension spring repair as core work, and we keep the safety protocols that make the difference between a twenty-minute job and a hospital visit. If you hear the loud bang of a spring breaking, don’t operate the door. Call for garage door repair and describe what you heard.
Extension Springs: A Different Risk Profile
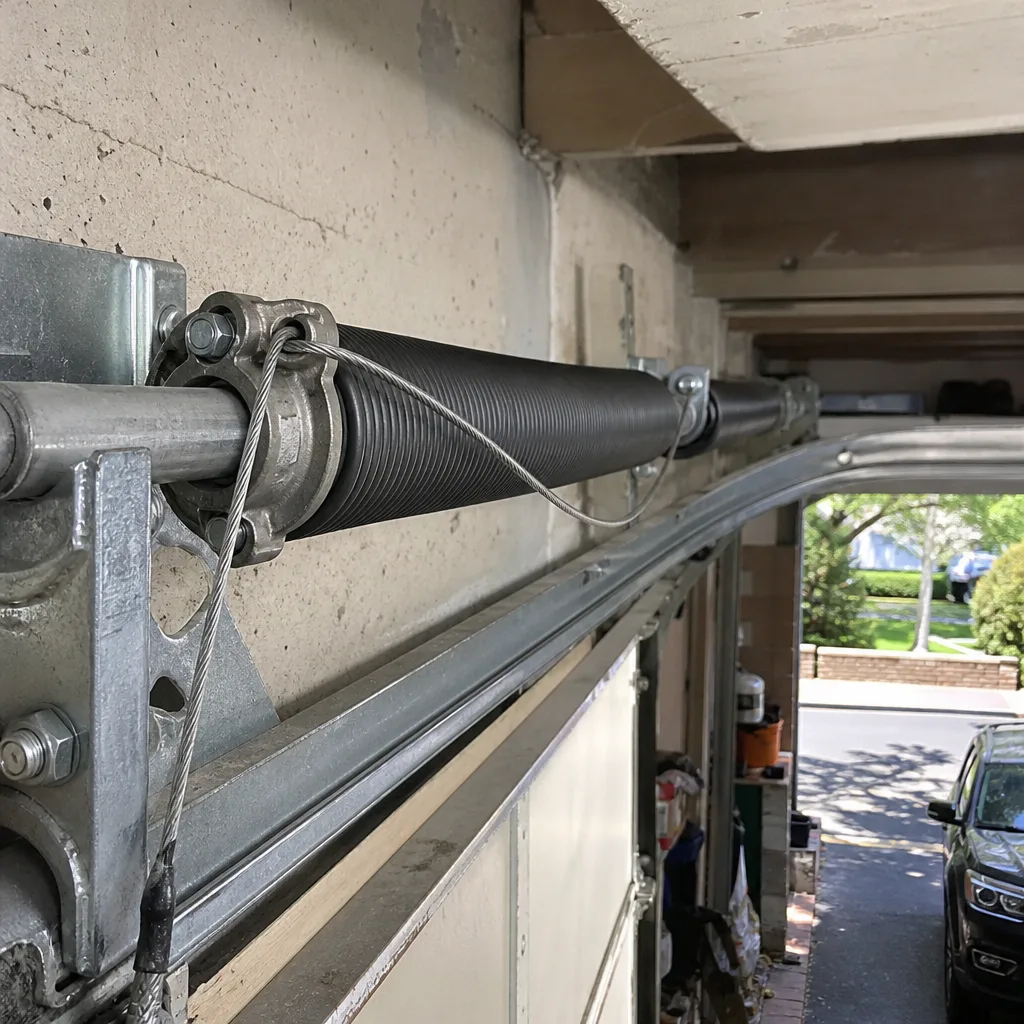
Extension springs run along the horizontal tracks above your door and stretch as the door closes. They fail differently from torsion springs. When an extension spring breaks, the long end whips toward the wall or the door, and if the spring isn’t contained by a safety cable through its interior, that end can travel. A missing or unsecured safety cable is a red flag on any older door. If you can look up at your extension springs and see no steel cable running through the center of each, that’s a call-a-professional situation even before anything breaks.
The good news: extension springs are less common on newer doors and somewhat easier to work on than torsion springs, but “somewhat easier” is not the same as “safe for a homeowner.” The spring is still under tension until the door is fully open and the spring fully relaxed, and a replacement spring has to match the door’s weight or the door will bind. If you’re ever uncertain which type you have, look at the bar above the door. A horizontal bar with springs wound around it is torsion. Springs running along the upper tracks are extension.
For homeowners in Elmhurst with an older door, the type of spring and the condition of the safety cables are two things worth knowing before you decide what to tackle yourself.
What LiftMaster and Chamberlain DIY Really Covers
Openers are the most DIY-friendly part of the garage door system, and that includes the modern connected models. If your door uses a LiftMaster or Chamberlain opener with battery backup and Wi-Fi, most of what you’d need to touch is accessible without professional help.
These opener tasks are reasonable to do yourself:
- Pairing a new remote. Follow the “learn” button sequence in the manual. Most LiftMaster and Chamberlain units take under a minute.
- Replacing the backup battery. Slide out the battery tray, swap the battery, done.
- Setting up MyQ or the Chamberlain app. This is a Wi-Fi pairing process; if it fails, the issue is usually signal strength or the account, not the opener.
- Adjusting the travel limits and force. Small turn-by-turn changes; record where the dial starts so you can revert.
- Resetting the wall control. The lockout and light functions are all in the manual.
What you shouldn’t do is open the motor housing to chase a board-level failure, replace the drive gear without the correct replacement part, or try to splice a damaged opener wire without checking where the run goes. Those cross into garage door opener repair territory. If the opener hums but the door doesn’t move, or the door reverses after the opener starts, that’s usually a stripped gear or a capacitor issue, both of which need a technician who already knows the brand.
This is where brand familiarity pays off. We work on LiftMaster, Chamberlain, Genie, Clopay, Amarr, Wayne Dalton, Craftsman, and Raynor equipment, so when you call, we already know the drive system in your opener instead of reading the label on arrival.
The Elmhurst Layout Factor: Narrow Shared Driveways
Elmhurst’s housing stock is mostly attached and semi-attached, with shared driveways and garages tight to the property line. That layout adds a factor most DIY guides ignore: what happens to the rest of the household if your door ends up jammed half-open, and how hard it is to get a car out.
On a narrow shared drive, a half-open door can block a vehicle in for hours. In attached housing, the door is often the only exit from the garage to the driveway, so a mid-job mishap means the family car is trapped until the repair is sorted. That raises the stakes of starting a repair you aren’t sure you can finish. A homeowner with a wide private driveway can afford to experiment a little more; a homeowner with a semi-attached row house off the main blocks near the Elmhurst business district should be less adventurous.
There’s a seasonality angle too. Elmhurst winters are hard on metal and lubricant. The cold stiffens the grease on rollers and hinges, which increases the load on the opener and the springs. A door that barely worked in November can fail on the first cold snap in January. If your door is slow or noisy going into winter, do the lubrication yourself, but leave any spring tension adjustment for a technician who knows what the door weighed in warm weather.
One more local point: the operating conditions here include the freeze-thaw cycle on the driveway apron, so the door’s bottom seal takes a lot of wear. Replacing a bottom seal is a reasonable DIY job, but only if the retainer is intact and the door’s bottom edge hasn’t started to rot. If the bottom section of the door is showing rust or soft spots, replacement may be more cost-effective than repair, which is where garage door installation comes in.
Cost Reality: Where DIY Saves and Where It Doesn’t
The savings from DIY depend entirely on which part you’re replacing. Retail pricing on a torsion spring at a home improvement store is often close to what a contractor pays, and the difference rarely justifies the risk. On smaller items like seals, remotes, and photo-eyes, the retail price is reasonable and the work is short.
| Task | DIY appeal | Where the money actually goes |
|---|---|---|
| Lubrication | High | Cost of lube spray only; saves technician time |
| Sensor alignment | High | No parts cost unless the eye itself is dead |
| Weather seal / bottom seal | Medium | Retail seal price is close to installed price on its own |
| Remote pairing / MyQ setup | High | No parts unless you need a new remote |
| Opener force/limit adjustment | Medium | Free if it works; a technician visit if you can’t get it right |
| Bottom bracket | None | Should never be DIY; bracket is under cable tension |
| Torsion or extension spring | None | Retail spring pricing is close to installed pricing; the difference is small |
| Cables | None | Under tension; the wrong tooling is worse than calling |
| Full door replacement | None | Door has to be ordered to size, weight matched to springs, professionally installed |
Where the savings are real: seals, remotes, sensors, and general maintenance. Where they’re marginal: springs, cables, brackets, and anything involving the door’s structural alignment. The retail-versus-contractor gap on springs is often narrow enough that a homeowner paying retail and risking injury comes out roughly even with a professional job, and that’s before counting the cost of a hospital visit or a mis-wound spring that fails in a year.
One thing worth saying plainly: the written estimate is the price. A reputable technician quotes the job in writing before any work starts, and that figure doesn’t change once the door is on the stands. If a quote is vague or shifts mid-job, ask for the written version before work continues.
A Step-by-Step Diagnostic Before You Decide
Before you decide whether to DIY or call, work through this sequence. Each step tells you what you’re actually dealing with, and stops you from starting a job that turns out to be bigger than it looked.
- Listen before you touch. A loud bang followed by a door that won’t lift is the classic broken spring. If you hear that, don’t operate the opener; the door needs spring work, and that’s not DIY.
- Try the manual release. Pull the red cord to disengage the opener. If the door lifts with one hand and stays put halfway up, the springs are intact and the problem is in the opener or a sensor.
- Check the photo-eyes. Look at the small lenses near the bottom of each track. A steady light on both means good alignment; a blinking or dark lens signals a sensor issue. Straightening and wiping is the first fix.
- Watch the door travel. If it reverses immediately, the sensor or the force adjustment is the likely culprit. If it moves unevenly or binds on one side, it’s a track or roller issue and probably not a DIY job.
- Look up at the springs. Note whether they’re torsion (on a bar above the door) or extension (along the upper tracks). Look for broken coils, gaps, or missing safety cables. Broken spring or missing safety cable: call.
- Check the opener. If the motor hums and the door doesn’t move, the gear or capacitor is the likely failure. If the opener doesn’t respond at all, start with the manual and remote pairing before assuming a bigger problem.
- Walk the door by hand. With the opener disengaged, lift the door halfway and let go. It should balance. If it slams down or floats up, the spring tension is wrong and needs a trained technician.
This entire sequence takes about ten minutes. It also gives you the vocabulary to describe the problem clearly when you call, which shortens the diagnostic and gets you a straight answer faster.
The Safety Rules That Apply Either Way
Some safety rules apply whether you’re doing the work or calling a professional. The most important one: never put your hands anywhere between the door sections or between the door and the jamb while the door is moving. A garage door opener can close on a person before the safety reverse engages if the sensors are faulty or obstructed. Test the reverse function monthly by placing a rolled-up towel in the door’s path and watching whether the door reverses; if it doesn’t, stop using the opener until the sensor or force setting is corrected.
Other rules worth keeping in mind:
- Never stand on a ladder directly under the torsion bar while working on anything above the door.
- Disconnect the opener and engage the manual release before any inspection that involves lifting the door.
- Don’t remove a bottom bracket, ever, without a technician on hand. That bracket holds the cable in tension.
- Keep children and pets clear of the door path while testing.
- If you don’t have the correct tool for a job, stop. A correctly sized winding bar and a proper pair of locking pliers are not things to substitute with a screwdriver and a pipe.
An honest answer about your own limits is worth more than a heroic weekend. The parts that need real expertise are the ones the tutorials underrepresent because the video doesn’t show what happens when a bar slips.
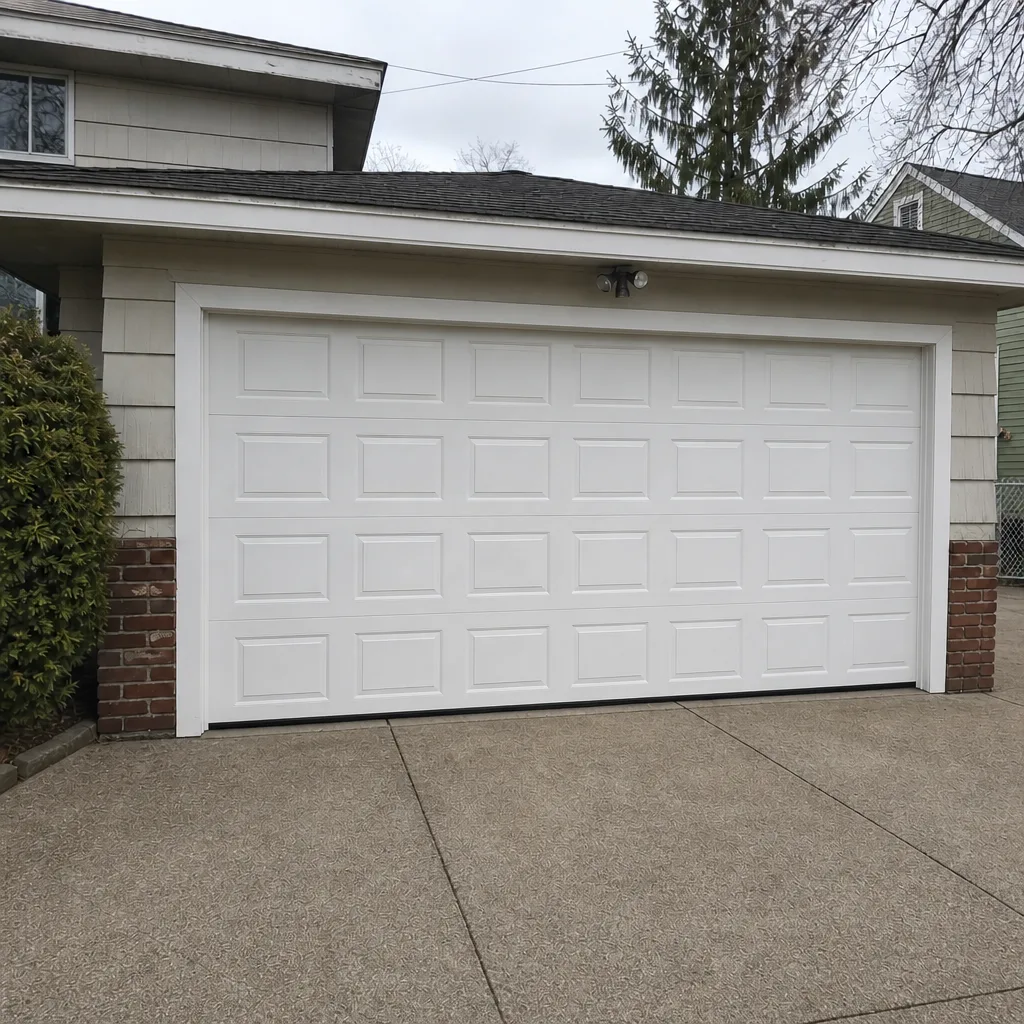
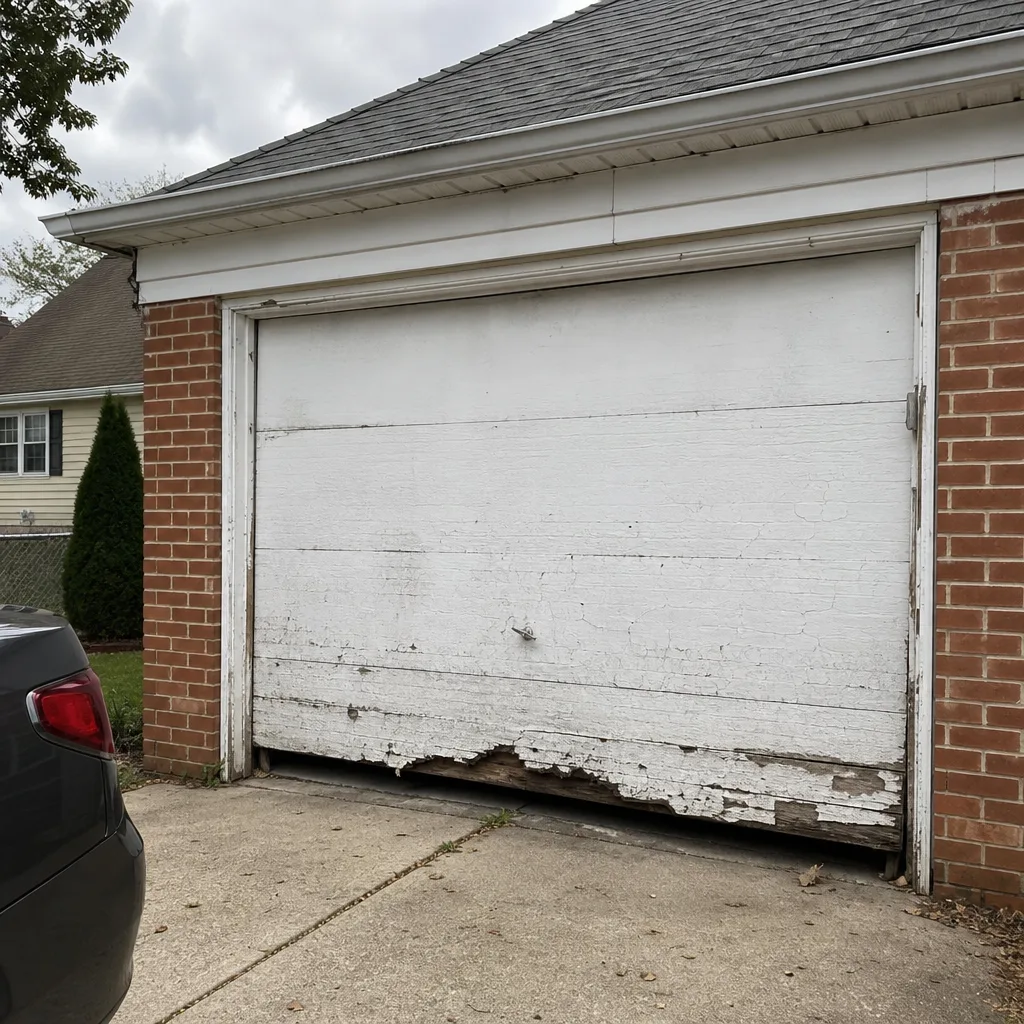
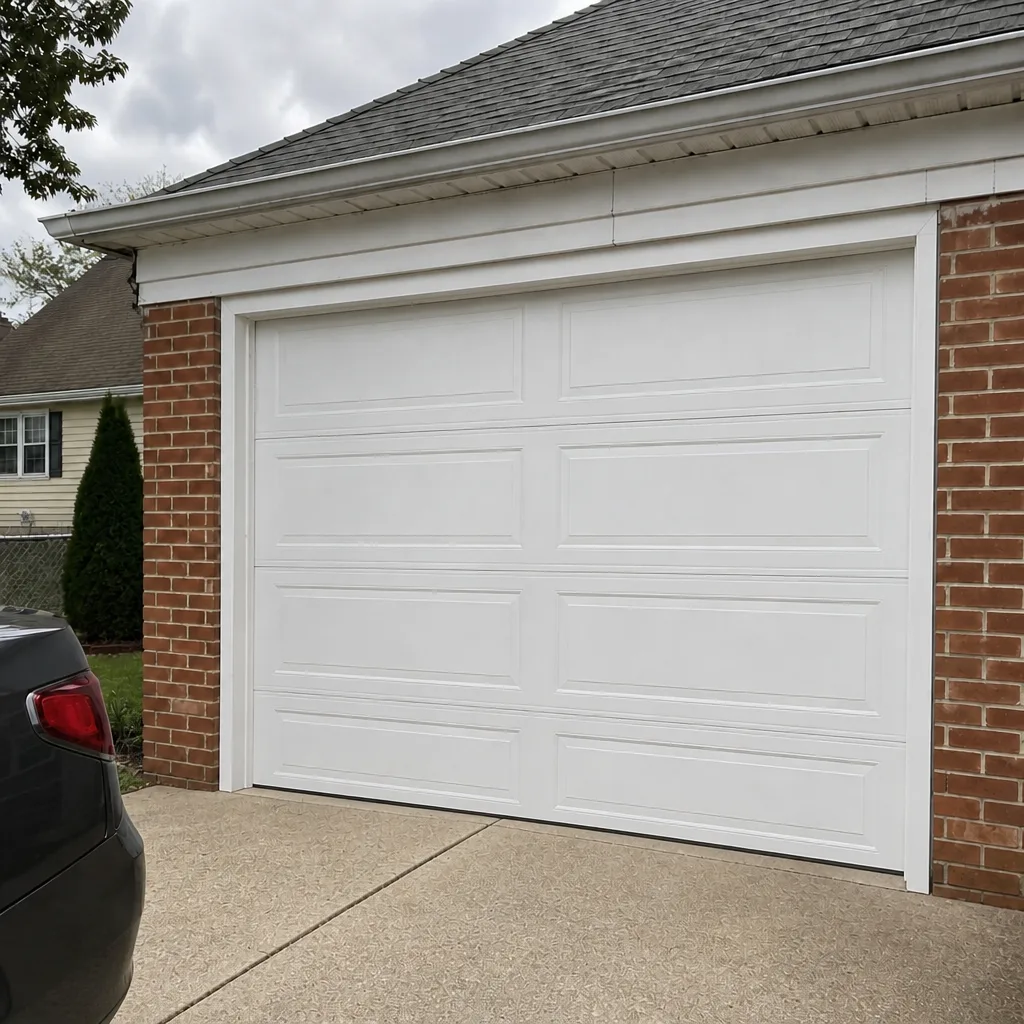
See the difference
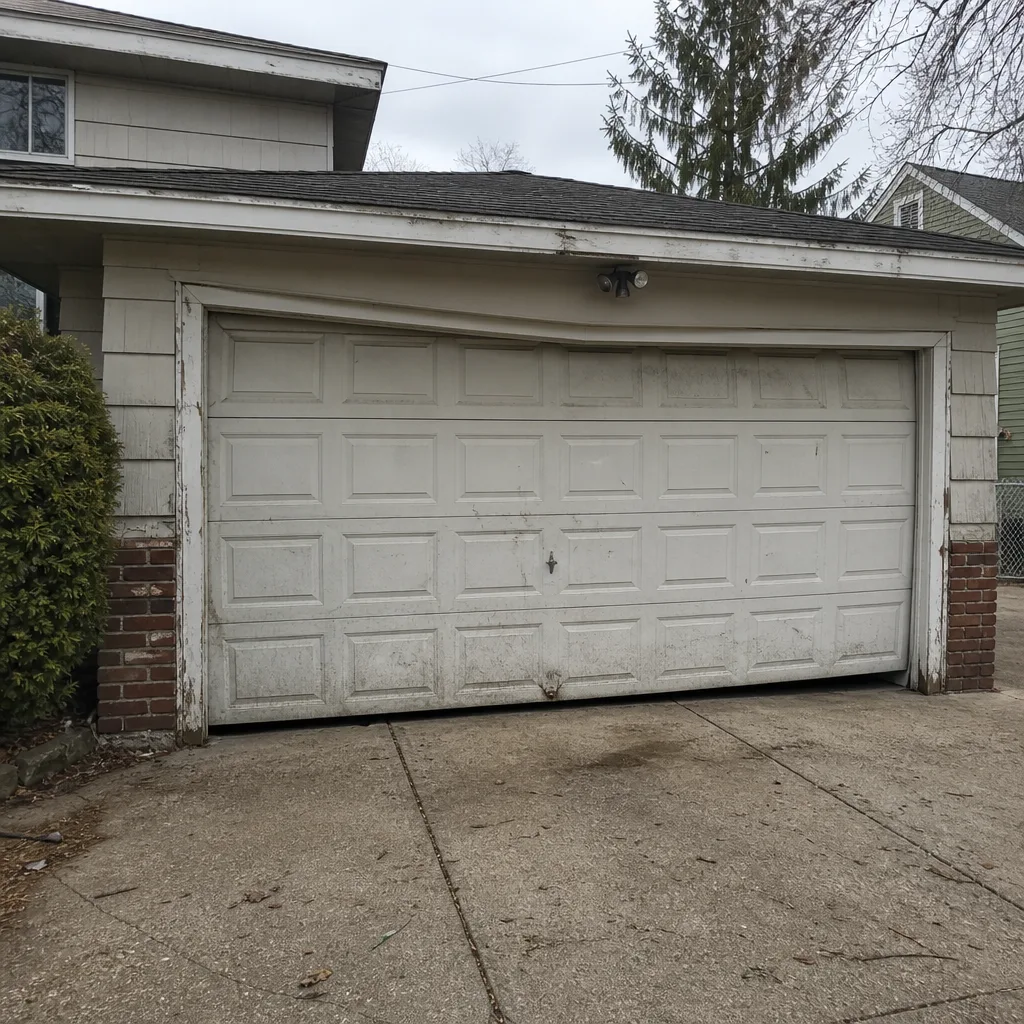 Before
 After
 Before
 After
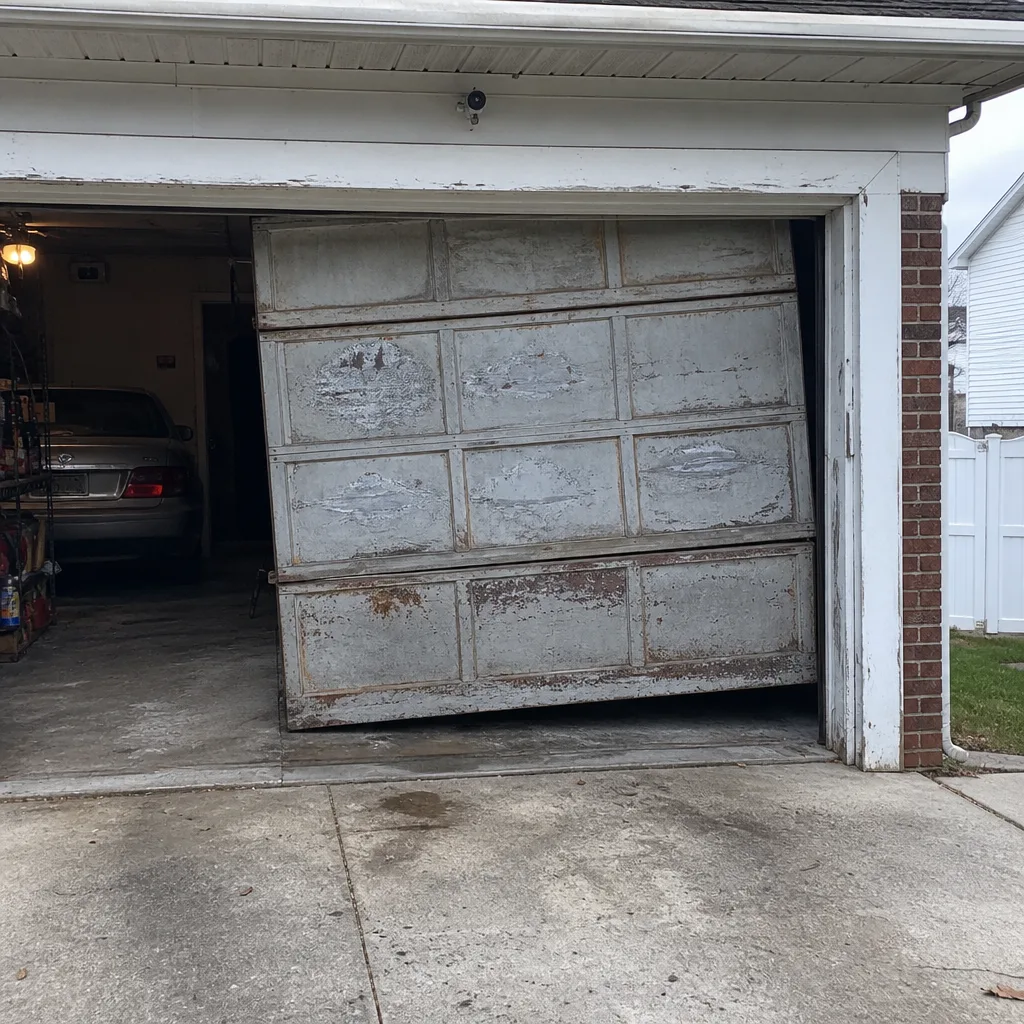 Before
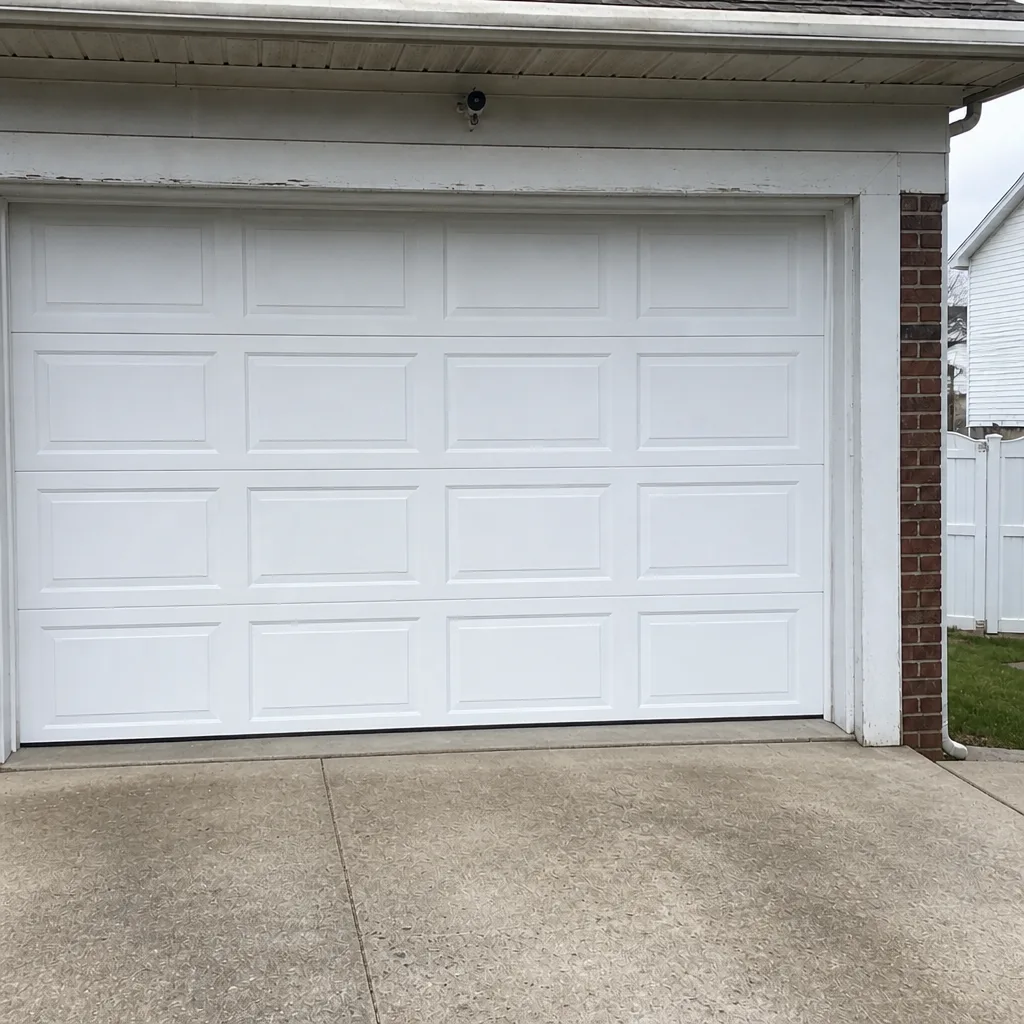 After
Common Mistakes to Avoid
- Undertaking a spring job with the wrong bars. Screwdrivers and socket extensions slip. A proper pair of winding bars takes seconds to seat and won’t slip mid-turn.
- Replacing one spring of a pair. A matched pair carries the door’s weight evenly; replacing one leaves the old spring to fail within months. Always replace pairs together.
- Forcing a door that has come off-track. If the door is off the track, don’t push it back by hand. The cables are under tension and the door can fall on you.
- Adjusting force instead of fixing the cause. Cranking up the opener force to push a heavy door masks a failing spring or a binding track and shortens the opener’s life.
- Skipping lubrication before winter. Elmhurst’s cold snaps stiffen old grease on rollers and hinges. Lubricating before the first freeze saves wear on the opener.
- Using a mismatched replacement spring. Spring tension has to match the door’s weight. A spring wound a couple of turns off will still work but will strain the opener and wear the cables.
- Ignoring missing safety cables on extension springs. Without the steel cable running through the spring, a break can send the end toward whatever is in its path.
When to Call a Professional
Call a professional if any of the following are true: you’re dealing with a broken spring, a snapped cable, a door that’s off its track, a door that’s come down unevenly, or an opener that hums without moving. Call as well if you aren’t sure what’s wrong, or if the door has been making a new noise for a while and you’d rather have it checked before it fails. For anything involving a broken spring or a door that won’t lift, don’t try to operate it to “see if it recovers.” It won’t.
Elmhurst Garage Door Repair Pros offers free estimates in Elmhurst. Call (877) 554-9033. We answer 24/7. Fast dispatch from 7am to 7pm, Sunday through Friday. Our technicians have up to 13 years of experience on LiftMaster, Chamberlain, Genie, Clopay, Amarr, Wayne Dalton, Craftsman, and Raynor equipment.
If your concern is installation or replacing a door, that’s a scheduled job rather than a same-day repair; we’ll come out, measure, and give you a written price before anything is ordered. The written quote is the price.
Frequently Asked Questions
We don’t recommend it. A wound torsion spring stores roughly 100 foot-pounds of torque, and the winding bar can slip out of the cone in a fraction of a second, causing serious injury. Extension springs carry similar energy and need a safety cable through the interior. Spring replacement is a professional job because of the force, not the steps.
Yes, for the adjustments covered in the manual: force, travel limits, remote pairing, and MyQ setup. Don’t open the motor housing or attempt a board-level repair. If the opener hums without moving the door, that’s usually a gear or capacitor issue and worth a technician visit. Call (877) 554-9033 for a free estimate.
A torsion spring is wound around a bar above the door; an extension spring runs along the upper track and stretches as the door closes. It matters for DIY because the failure modes differ. A torsion bar can fly out of place when it slips; an extension spring can throw its free end if the safety cable is missing. Both are professional jobs.
Spring repair is priced per job by written estimate; the technician quotes before touching the door and that figure is what you pay. A matched pair of springs is a pair job, not a single-spring job, so the estimate reflects both springs. Call (877) 554-9033 for a free estimate.
The safety sensors, the force setting, or both. Check the small lenses near the bottom of each track; a blocked or misaligned lens is the most common cause. If straightening and wiping them doesn’t fix it, the opener may need a force adjustment or the sensors may need replacing. Call (877) 554-9033 if it doesn’t clear up.
Troubleshoot first. Check the wall control, then the remote battery, then the wall outlet. If the opener doesn’t power up at all, the issue may be the outlet or a tripped breaker. If it powers up but doesn’t move the door, that’s the professional call. LiftMaster and Chamberlain setups are what our technicians work on most often.
For repairs, yes, same-day service is available; call and describe what’s happening so we dispatch the right technician with the right parts. Installation is scheduled, not same-day, because the door is measured and ordered. Call (877) 554-9033. We answer 24/7. Fast dispatch from 7am to 7pm, Sunday through Friday.
No. The written estimate sets the price before any work starts. If the technician finds something the estimate didn’t cover, they’ll tell you and give you a new written price to approve before doing the work. The written quote is the price.
The Bottom Line
The DIY vs. professional question for a garage door comes down to one filter: is the part under tension when I touch it? Springs, cables, and bottom brackets are under load and should go to a trained technician. Lubrication, sensors, seals, remote pairing, force adjustment, and MyQ setup are reasonable for a homeowner and save real money. Everything else is a judgement call based on how much you can finish cleanly and what happens if you can’t. In Elmhurst’s tight shared driveways, that last question matters more than it does on a wide suburban lot. If you’re unsure which side of the line your job falls on, a free estimate resolves it in a phone call.
For help deciding on a specific job, or to schedule service, call (877) 554-9033. We answer 24/7. Fast dispatch from 7am to 7pm, Sunday through Friday. Estimates are free and the written quote is the price.
Written by the team at Elmhurst Garage Door Repair Pros.