
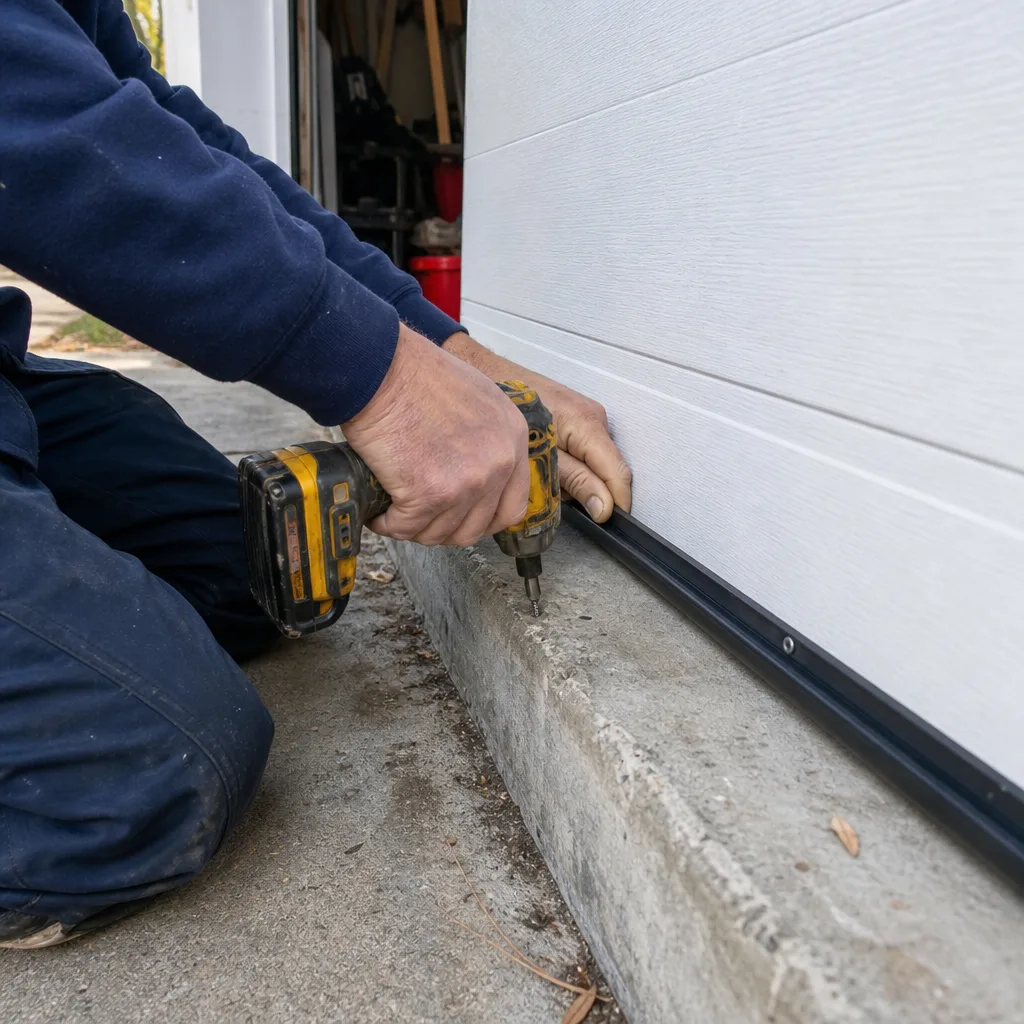
Last updated November 21, 2026
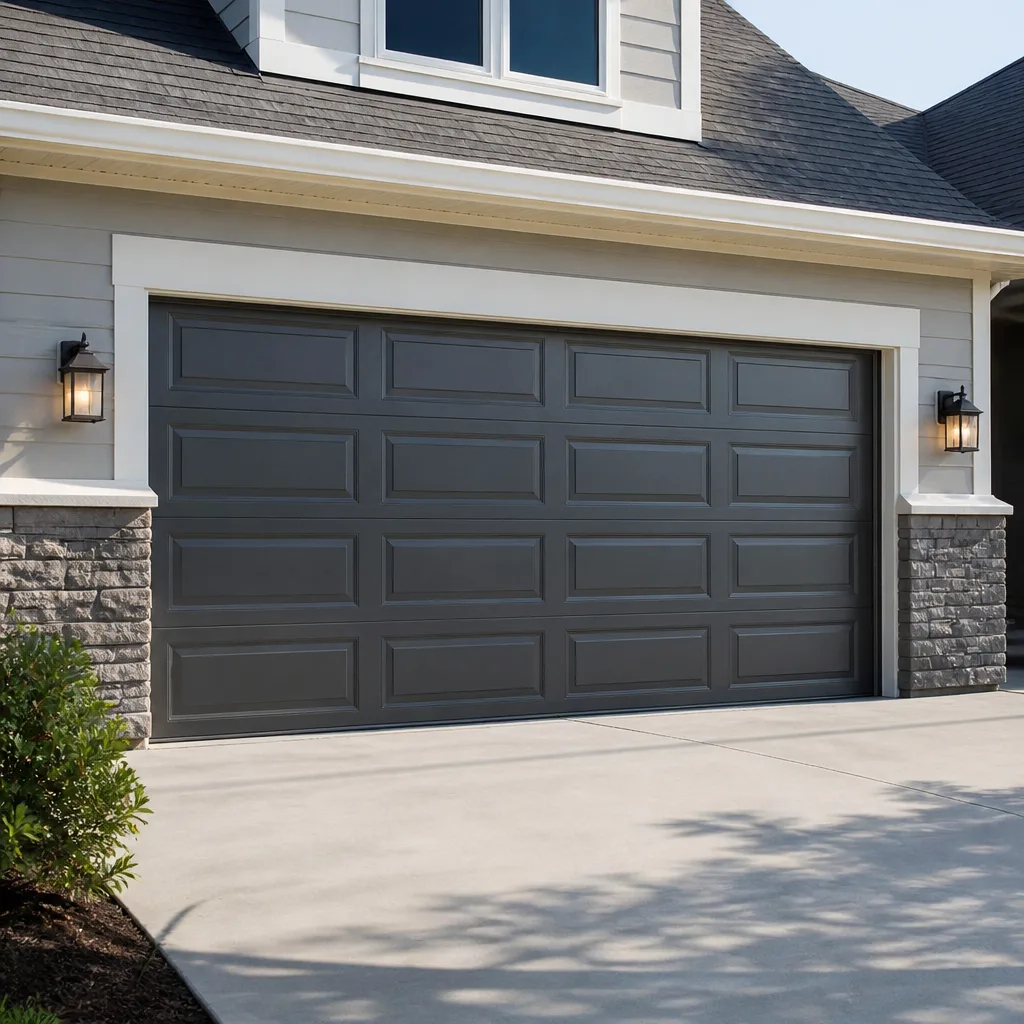 Raised-panel steel
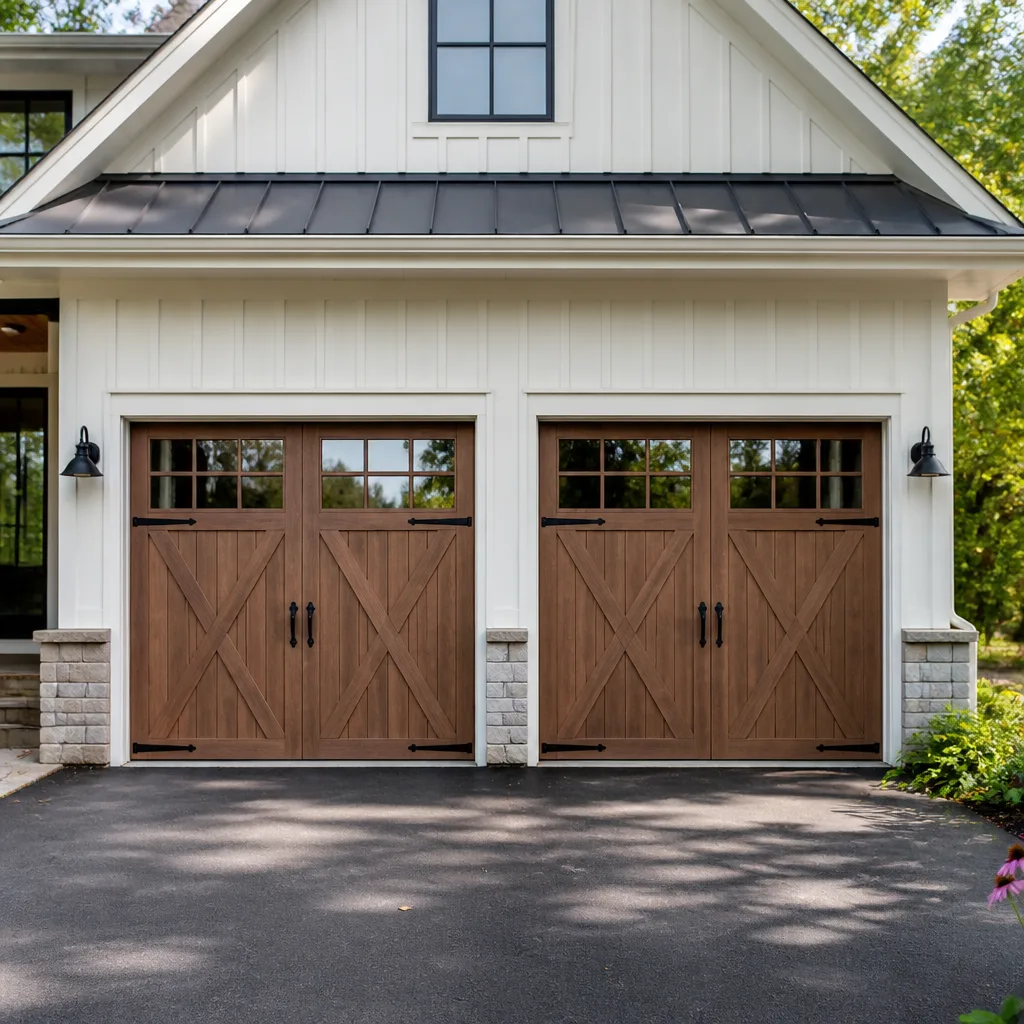 Carriage house
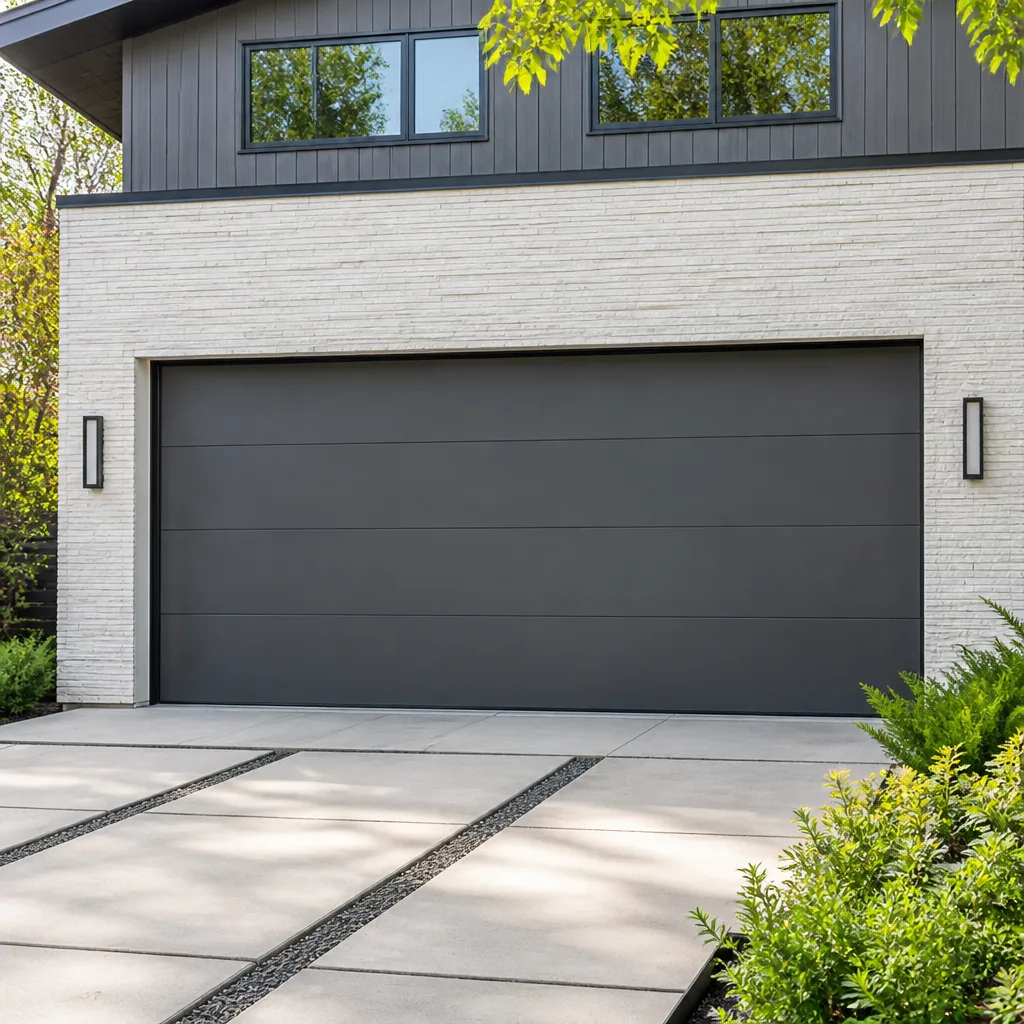 Modern flush
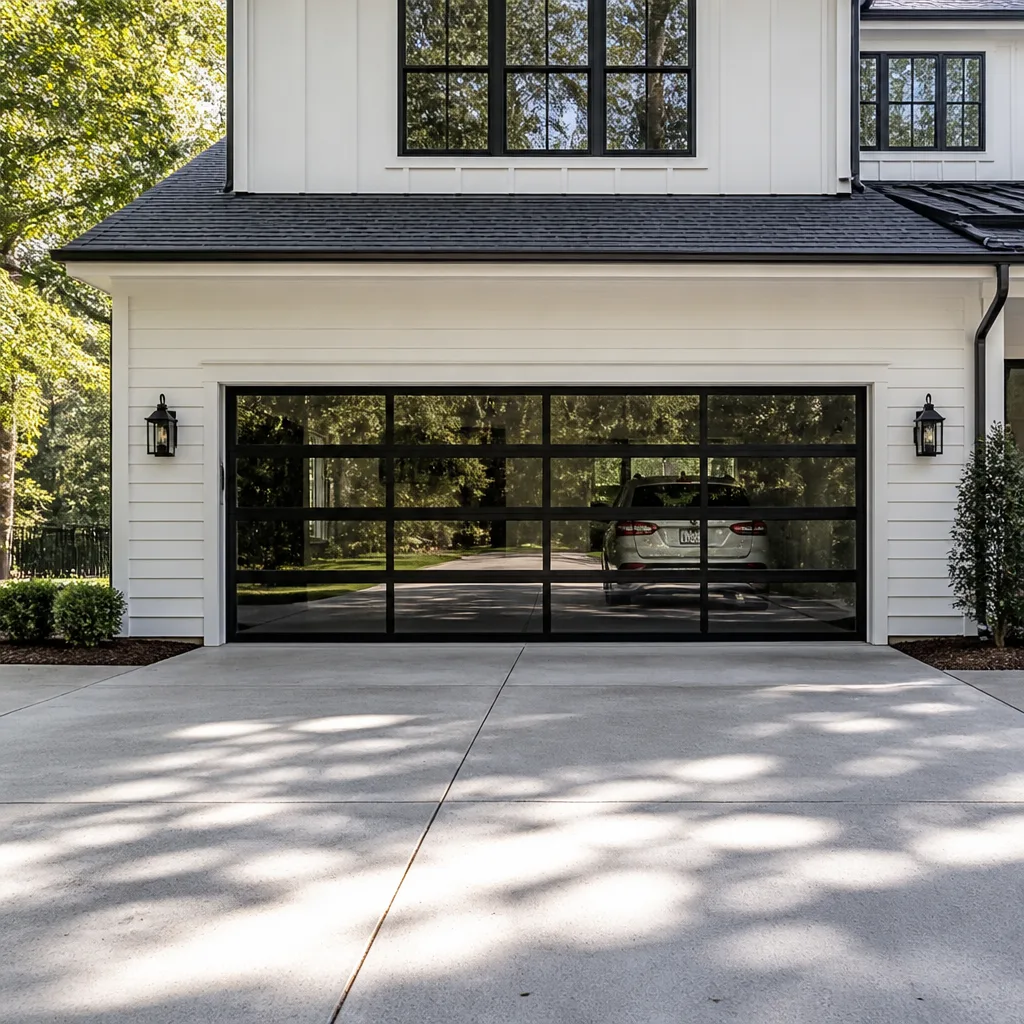 Full-view glass
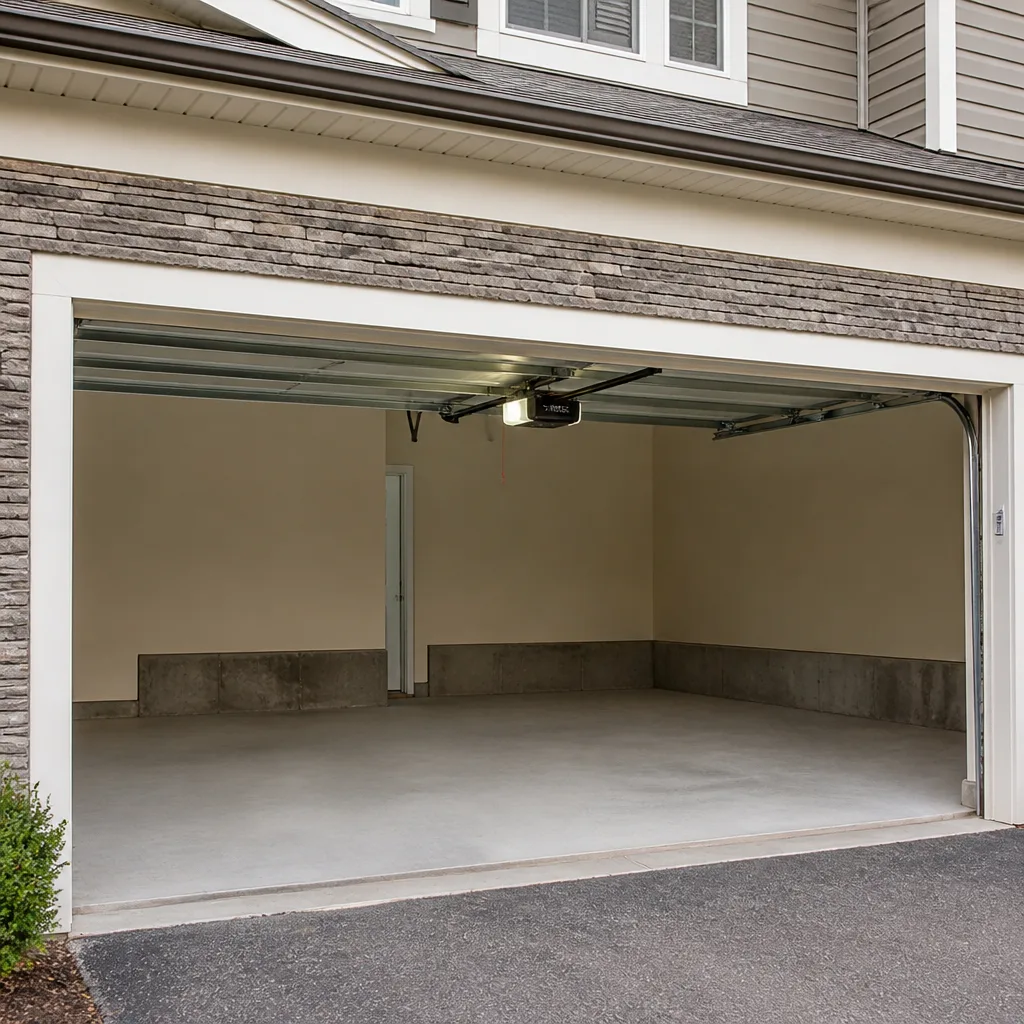 LiftMaster openers
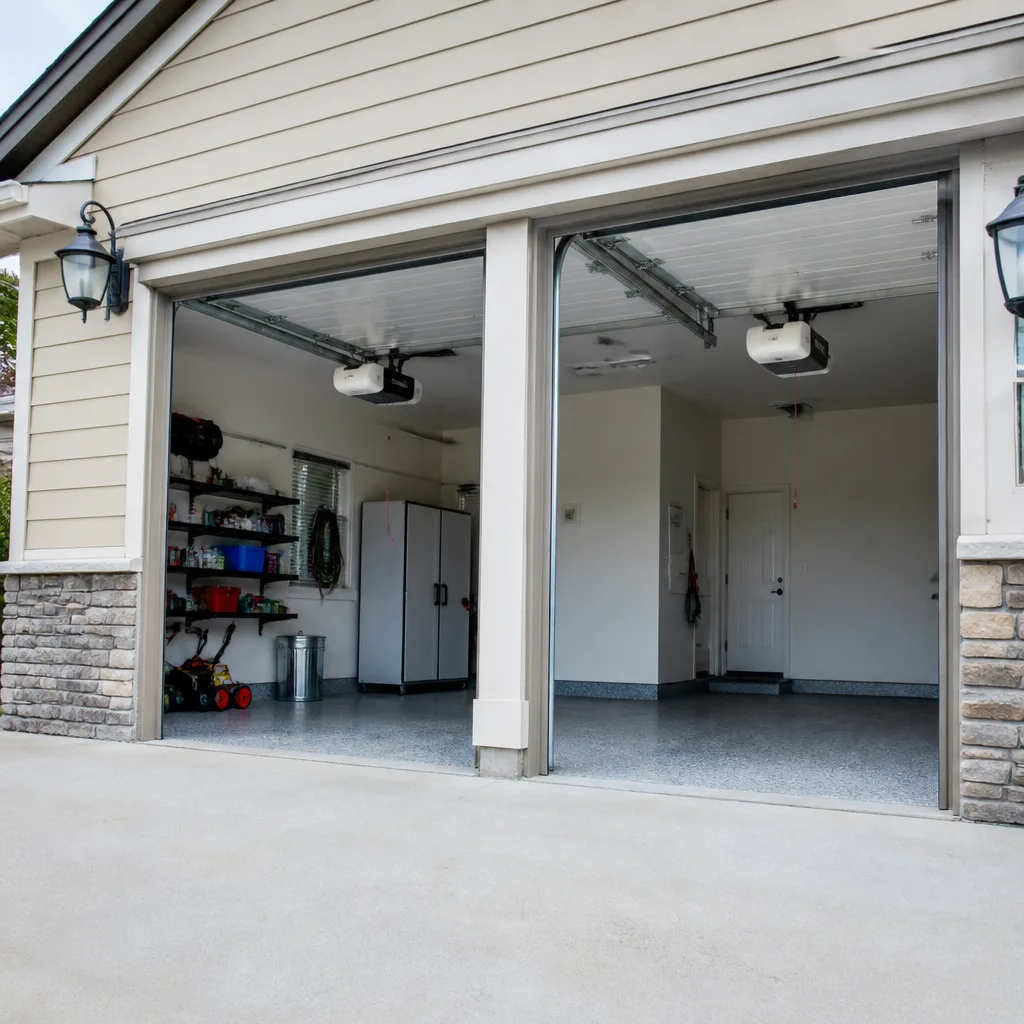 Chamberlain openers
Full 25-point door and opener safety check with every visit - springs, cables, rollers, tracks, and your LiftMaster or Chamberlain opener included
You get a price before we start. It does not change when the pro arrives.
Get your free estimateGarage Door Repair Troubleshooting in Elmhurst: Common Problems and How to Fix Them
A garage door that reverses before it reaches the floor usually isn’t broken. In most cases the safety sensors are out of alignment by a quarter inch, or something as small as a cobweb or a fallen leaf is blocking the beam. That one fact saves plenty of Elmhurst homeowners a service call every year. But not every symptom is that forgiving. Some problems you can sort out in ten minutes with a stepladder and a rag. Others mean a torsion spring is holding stored energy that can injure you badly if you touch it. This guide maps the symptom you’re seeing to the part that’s actually at fault, so you know which category you’re in before you pick up a tool.
Quick Answer
Most garage door failures in Elmhurst trace back to one of five components: the safety sensor pair, the torsion or extension spring, the opener’s travel limit switch, the logic board, or the cable and drum assembly. Sensor misalignment, remote programming, and the manual release are safe for a homeowner to handle. Spring, cable, and drum work involves high tension and belongs with a trained technician. Read the opener’s own diagnostic lights first, note your opener model, and you’ll have most of the diagnosis done before anyone arrives.
Styles & brands we work with
- Raised-panel steel
- Carriage house
- Modern flush
- Full-view glass
- LiftMaster openers
- Chamberlain openers
Table of Contents
- The Symptom-to-Part Diagnostic Tree
- Three Repairs You Can Safely Do Yourself
- What’s Genuinely Dangerous Without Training
- Elmhurst-Specific Factors That Cause Door Problems
- Reading Your Opener’s Error Codes: LiftMaster and Genie
- What to Gather Before You Call
- Is It the Opener or the Door?
- Seasonal Maintenance for Elmhurst Garages
The Symptom-to-Part Diagnostic Tree
Start with what the door is doing, not what you think is broken. The behavior narrows the suspect list fast, and it keeps you from replacing a part that was never the problem. Here’s how we walk through it.
- Door won’t open at all, opener hums but nothing moves: Usually a broken torsion spring or a snapped extension spring. The opener motor runs but has nothing counterbalancing the door’s weight. Stop running the opener; you’ll burn out the motor trying to lift a door the spring should be lifting.
- Door opens a foot then reverses, or reverses before closing: Safety sensors. Nine times out of ten the sending and receiving eyes are misaligned, dirty, or one has a loose bracket. Check the LED on each sensor.
- Door grinds, screeches, or squeals in motion: Rollers, hinges, or the torsion tube bearings. Dry or worn steel rollers on an older door are the usual culprit. Sometimes it’s a cable rubbing where it shouldn’t.
- Door hangs crooked, one side higher than the other: A stretched or jumped cable on one side, or a broken spring on a two-spring setup where only one has failed. Do not keep operating it; a crooked door puts uneven load on the tracks.
- Door closes partway and stops, then reverses: Travel limit switch out of adjustment, or a logic board that’s lost its position memory after a power interruption.
- Door slams down hard instead of easing closed: The down limit is set too far, or the force setting is too high. Both are adjustable, but they’re also the settings that decide whether the door crushes something in its path, so treat them carefully.
- Remote or keypad works intermittently: Dead battery, worn remote, or a logic board losing its rolling code memory. On LiftMaster and Chamberlain openers, a power blip can wipe the learned remotes.
Match your symptom to a row and you’ve already cut the diagnostic work in half. The rest is confirming which part is actually failing, and that’s where the opener’s own diagnostic lights help.
Three Repairs You Can Safely Do Yourself
We’re not going to pretend every garage door problem needs a technician. Three of them genuinely don’t, and doing them yourself is fine. Here’s how each works.
1. Aligning the safety sensors
- Locate the two sensor eyes mounted at the bottom of each track, roughly six inches off the floor.
- Check the LED on each. A steady light on both means they’re aligned and powered. A flickering or dark light is your problem.
- Wipe the lens on both with a dry cloth. Dust and spider webs block the infrared beam more often than you’d expect.
- Loosen the wing nut on the bracket of the misaligned sensor and nudge it until both LEDs are steady.
- Retighten and test by closing the door with a broom handle in the beam path. The door should reverse immediately.
2. Reprogramming a remote
On a LiftMaster or Chamberlain opener, press the learn button on the motor head (usually a colored square), then press and hold the remote button within about thirty seconds until the opener clicks or the light blinks. Genie Intellicode remotes use a similar learn sequence with a slightly different button location. If the remote still doesn’t take, replace the battery first, then try again. A remote that worked yesterday and stopped today is a battery or a power blip, not a bad opener.
3. Using the manual release
Every opener has a red emergency release cord hanging from the trolley. Pulling it disconnects the door from the opener so you can lift it by hand. This is safe to do, with one condition: only pull it when the door is fully closed. Pulling it with the door open can let it drop. Once you’ve released it, lift the door by hand. If it feels heavy, or won’t stay up on its own, the spring is the problem and you’re past the DIY line.
What’s Genuinely Dangerous Without Training
Torsion springs hold tremendous stored energy. A standard residential torsion spring under tension can cause serious injury in a fraction of a second if it releases unexpectedly, and that’s true for experienced technicians too, which is why we use specific winding bars and follow a set procedure every time. This is not a component to learn on.
The same caution applies to the cables and the cable drums at each end of the torsion shaft. Cables run at high tension and can whip when they fail. If you see a cable that’s frayed, kinked, or off its drum, stop operating the door and call a technician. Extension springs, common on older single-car doors, are also under heavy tension and should be handled by a pro. We’ve seen too many homeowners try to swap a spring with a pair of vice grips and a ladder, and it doesn’t end well.
What you can safely do: look, listen, and note. If you see a gap in a spring coil, hear a loud bang from the garage, or notice a cable hanging loose, that’s information. Don’t touch the tension parts. Note what you saw and call. Our technicians have up to 13 years of experience with garage door repair on exactly these components, and they carry the right tools to work safely.
Elmhurst-Specific Factors That Cause Door Problems
Elmhurst’s housing stock shapes its garage door problems in ways that don’t show up in a generic troubleshooting guide. A lot of the homes here are attached rowhouses and conversions where the garage was built or adapted decades ago, and those garages weren’t designed with modern openers in mind. The result is a recurring set of issues.
Non-standard header heights are the big one. In an older attached garage, the distance from the floor to the header above the door opening can be shorter or taller than the standard eight feet a modern opener expects. When an opener is installed on a header that doesn’t match, the travel limit settings have to be pushed to their edges to make the door close fully, and over time the opener drifts out of adjustment. That’s why you’ll see a door that worked for years suddenly stop a few inches short.
Weather plays a role too. Elmhurst summers are humid enough to swell wooden door panels and warp older wood jambs, which throws off the door’s alignment in the tracks. Winter cold contracts the same wood and can stiffen the rollers and hinges. A door that grinds in January often runs quiet by May without anyone touching it. That seasonal swing is normal, but it’s a reason to check your door’s balance twice a year rather than once.
Then there’s the density of the neighborhood. Garages are close together, which means radio interference is more common. A LiftMaster or Chamberlain remote that works from the driveway but not from the kitchen is usually a signal issue, not a dying opener. Changing the remote’s frequency or replacing the logic board’s receiver can fix it. If you’re chasing a signal problem across an attached rowhouse garage, the local knowledge matters. Elmhurst Garage Door Repair Pros works in these garages regularly and knows the layout quirks.
Reading Your Opener’s Error Codes: LiftMaster and Genie
Your opener already knows what’s wrong. Most models show a diagnostic blinking pattern on the motor head or a fault indicator light, and learning to read it is the single fastest way to shortcut a diagnosis. Here’s how the two dominant brands signal problems.
LiftMaster and Chamberlain blink codes
LiftMaster and Chamberlain openers (Chamberlain owns LiftMaster, so the logic is shared) flash the LED on the motor head in a pattern. The number of flashes, then a pause, then repeats, tells you the fault. Common patterns:
- One flash: Safety sensor issue. Check alignment and the sensor LEDs.
- Two flashes: Safety sensor wire or connection problem.
- Three flashes: Safety sensor installed backward or a control board fault.
- Four flashes: Safety sensor miswired or obstructed.
- Five flashes: The opener isn’t receiving a signal from the wall control.
- Six flashes: Motor or logic board fault. This one usually needs a technician.
The exact pattern varies by model, so check the manual or the sticker inside the motor cover. But on a smart LiftMaster with myQ, the app can often show the fault directly, so check there first if your opener is connected.
Genie Intellicode indicators
Genie Intellicode openers use a diagnostic LED or a series of beeps on the wall console. A repeating pattern of short and long signals corresponds to sensor faults, travel limit issues, or a logic problem. Genie’s manuals lay out the exact code table for each model, so grab the model number off the motor head and look it up. The Intellicode rolling code system occasionally needs re-syncing after a power interruption, and that’s a code you can clear yourself.
If you can tell us “five flashes on a LiftMaster” when you call, our technician already knows to check the wall control wiring before leaving. That’s how we save you a repeat visit.
What to Gather Before You Call
The best service call is a short one because the caller did a minute of prep. Have these ready and the technician arrives with the right part instead of making a second trip.
- Opener make and model. The sticker is on the motor head or inside the cover. “LiftMaster” alone isn’t enough; the model number tells us the drive type and board.
- Door type and material. Steel, wood, or aluminum, and whether it’s a sectional or a one-piece tilt-up. Clopay and Amarr account for a lot of the doors in Elmhurst, so the brand helps too.
- The exact symptom. “Won’t close” is vague. “Opens a foot, reverses, sensor light is flickering on the left side” gets us there faster.
- Intermittent or constant. A door that fails every time is one diagnosis; a door that fails once a week is a different one, often a wiring or signal issue.
- Any recent changes. A power outage, a new remote, a recent storm, or a car that backed into the door all narrow things down.
- Error code, if you’ve got one. The flash count or fault indicator reading is gold.
Gather that and call. We answer 24/7, and fast dispatch from 7am to 7pm, Sunday through Friday, gets a technician to your Elmhurst garage the same day in most cases. The estimate is free and the price is set per job by the written estimate before any work starts.
Is It the Opener or the Door?
This is the question that decides whether you need garage door opener repair or work on the door itself, and it’s easy to test. Disconnect the opener with the manual release and try to lift the door by hand.
- The door lifts easily and stays up on its own: The door is balanced. The problem is in the opener, its logic board, travel limits, or the sensors.
- The door is heavy, won’t stay up, or drops when you let go: The spring is the problem. The opener is probably fine and is just straining against a door it can’t counterbalance.
- The door lifts but binds or scrapes in one spot: Track alignment or a worn roller. Sometimes a hinge has pulled loose.
That test takes two minutes and tells you which category of repair you’re looking at. We work on whatever brand is already on your home, whether it’s a LiftMaster, a Chamberlain, a Genie, or one of the other five brands we service, so there’s no brand-switching upsell and no guesswork.
Seasonal Maintenance for Elmhurst Garages
Garage doors don’t need much, but the small things prevent the big failures. A twice-a-year routine keeps the door balanced, the opener honest, and the springs from failing at a bad moment.
- Balance test: Disconnect the opener, lift the door halfway, and let go. A balanced door stays put. If it drifts down, the spring is losing tension.
- Lubricate the moving parts: A garage-door-specific lubricant on the rollers, hinges, and torsion tube bearing plates. Not WD-40 on the tracks, which attracts dust.
- Check the safety sensors: Wipe the lenses and confirm both LEDs are steady. Do this more often in summer when insects and dust are around.
- Inspect the springs and cables visually: Look for gaps in the spring coils or frayed cables. Don’t touch them, just look and note.
- Test the auto-reverse: Place a two-by-four flat on the floor in the door’s path and close it. The door should reverse on contact. If it doesn’t, the force setting is too high.
If you’re replacing a door rather than repairing one, the same balance and alignment rules apply, and a proper garage door installation gets the travel limits set correctly from day one. On an older Elmhurst rowhouse garage with a non-standard header, that setup step is where a good install earns its keep.
Common Mistakes to Avoid
- Running the opener on a broken spring. The motor will try to lift a door it can’t, and you’ll add a burned-out opener to the repair list. Stop when you hear the bang or the door won’t move.
- Disconnecting the manual release with the door open. Pull the red cord only when the door is fully closed. An open door on a failed spring can drop hard.
- Adjusting the force setting to “fix” a reversing door. Cranking up the force makes the door push through resistance, which defeats the safety feature. Find the real cause first.
- Replacing the whole opener when only the sensors are bad. A blinking sensor light sends plenty of homeowners to the store for a new opener. Check the sensors and error code before you spend.
- Ignoring a door that hangs crooked. An uneven door puts load on the tracks and can pull a cable loose. It’s a warning, not a quirk.
- Using the wrong lubricant on the tracks. Grease and general-purpose oil collect grit. Use a door-specific product on the moving parts and leave the tracks clean.
- Assuming an intermittent remote is a dead opener. In an Elmhurst rowhouse, a remote that works outside but not inside is usually a signal issue, not a failing board.
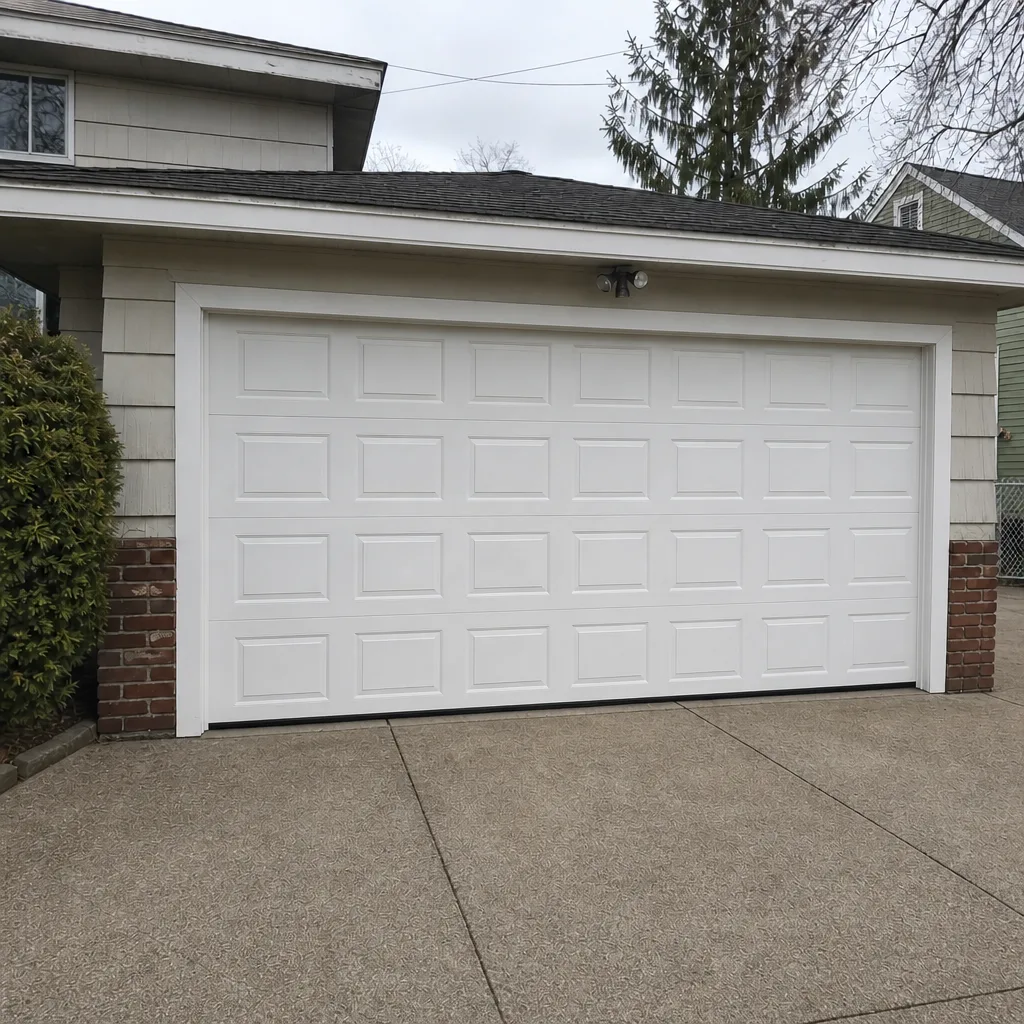
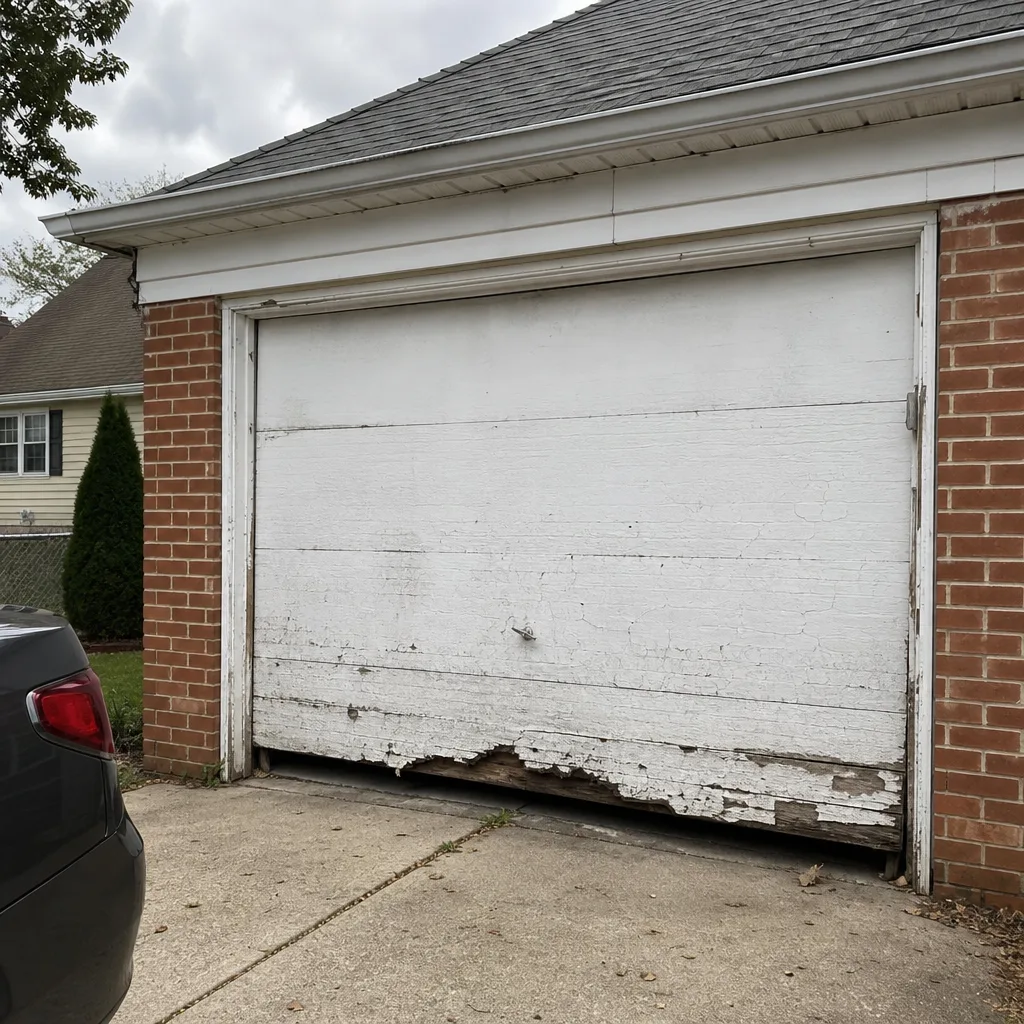
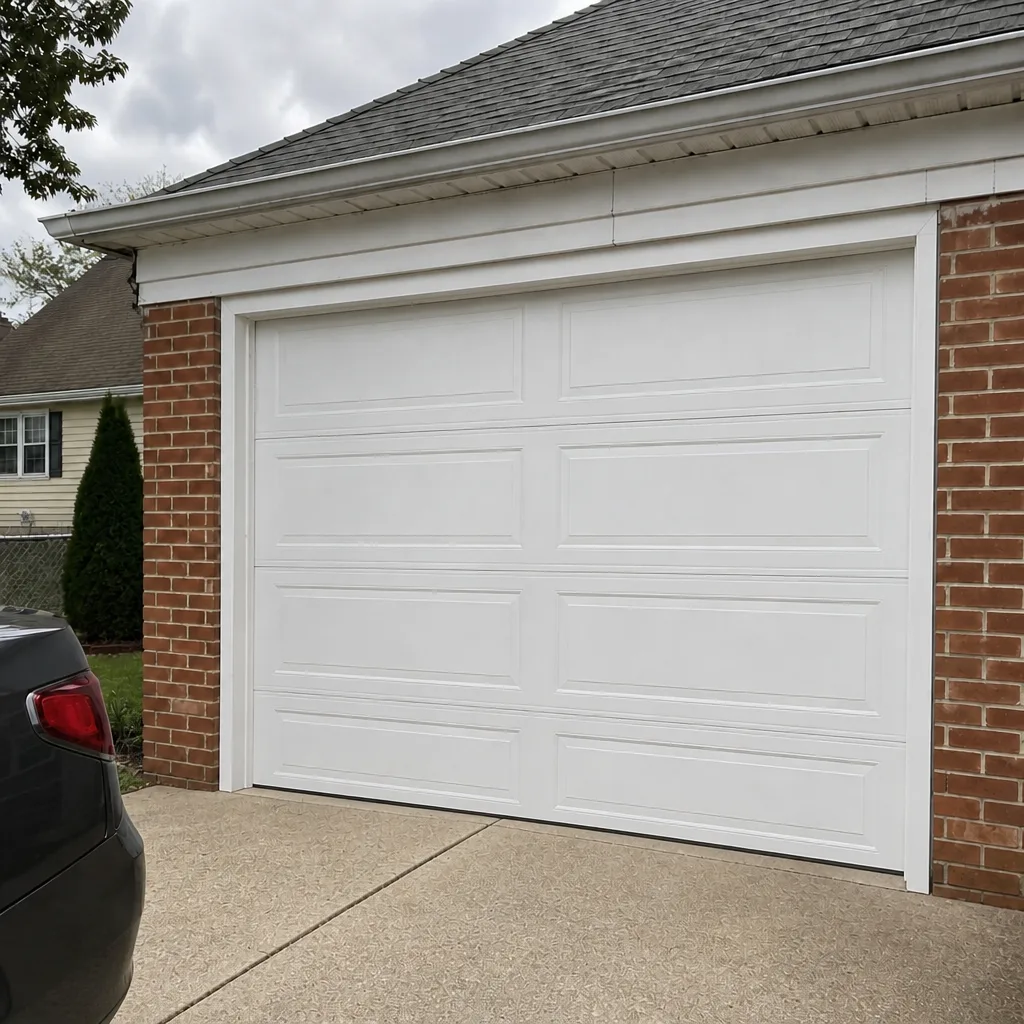
See the difference
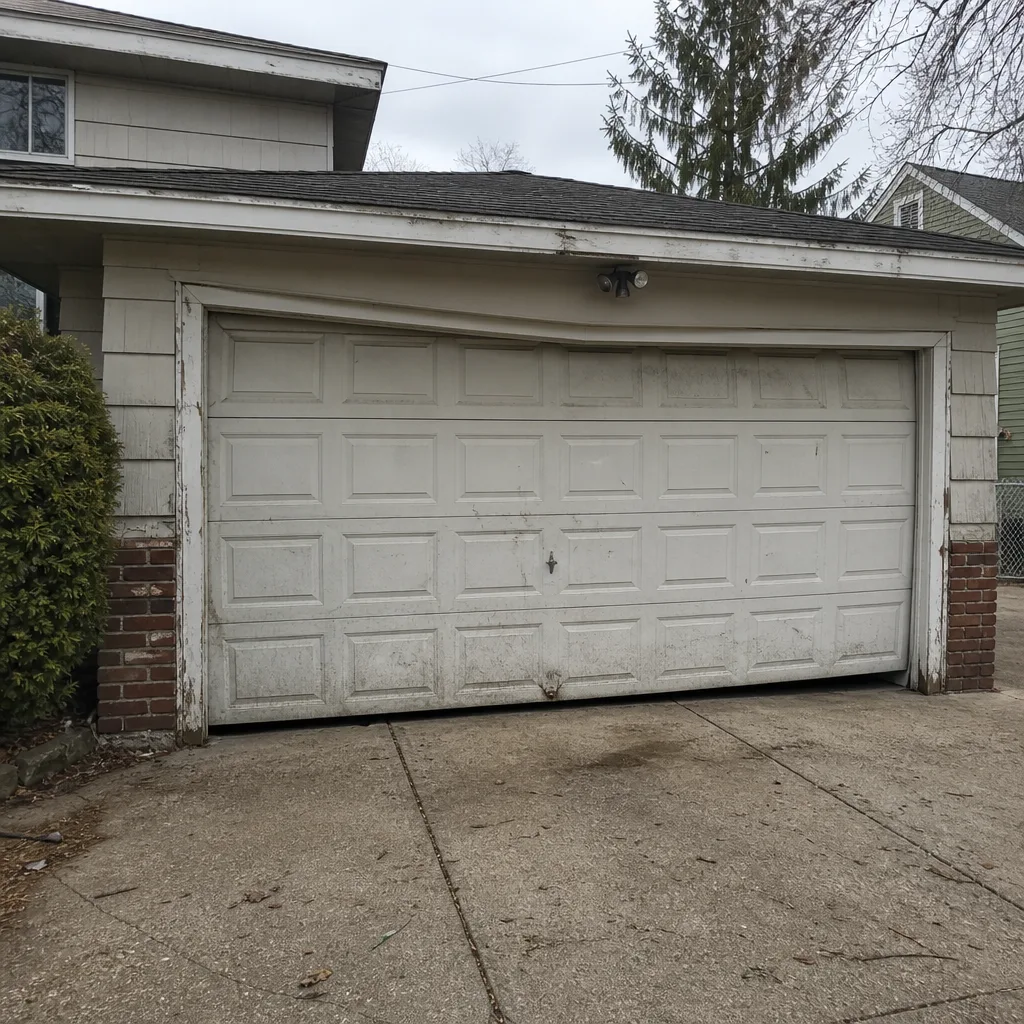 Before
 After
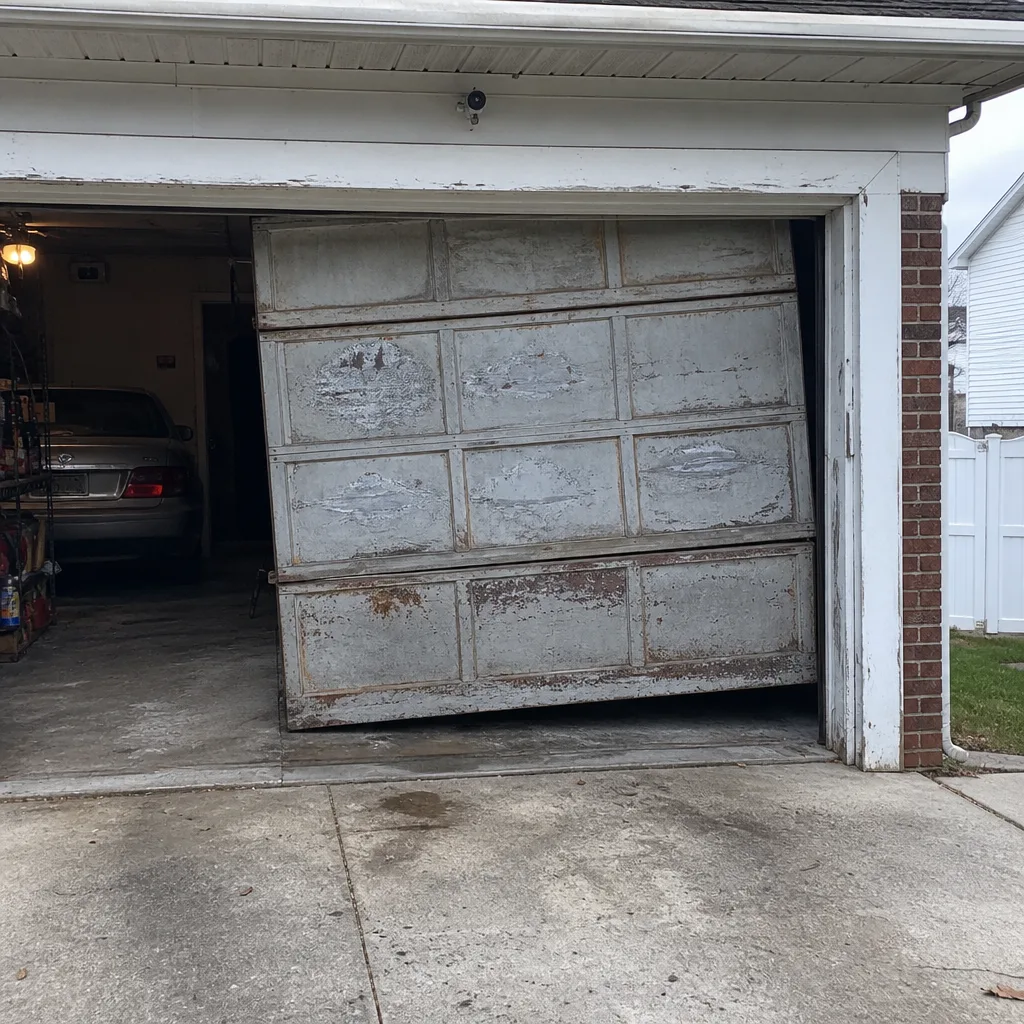
 Before
 After
 Before
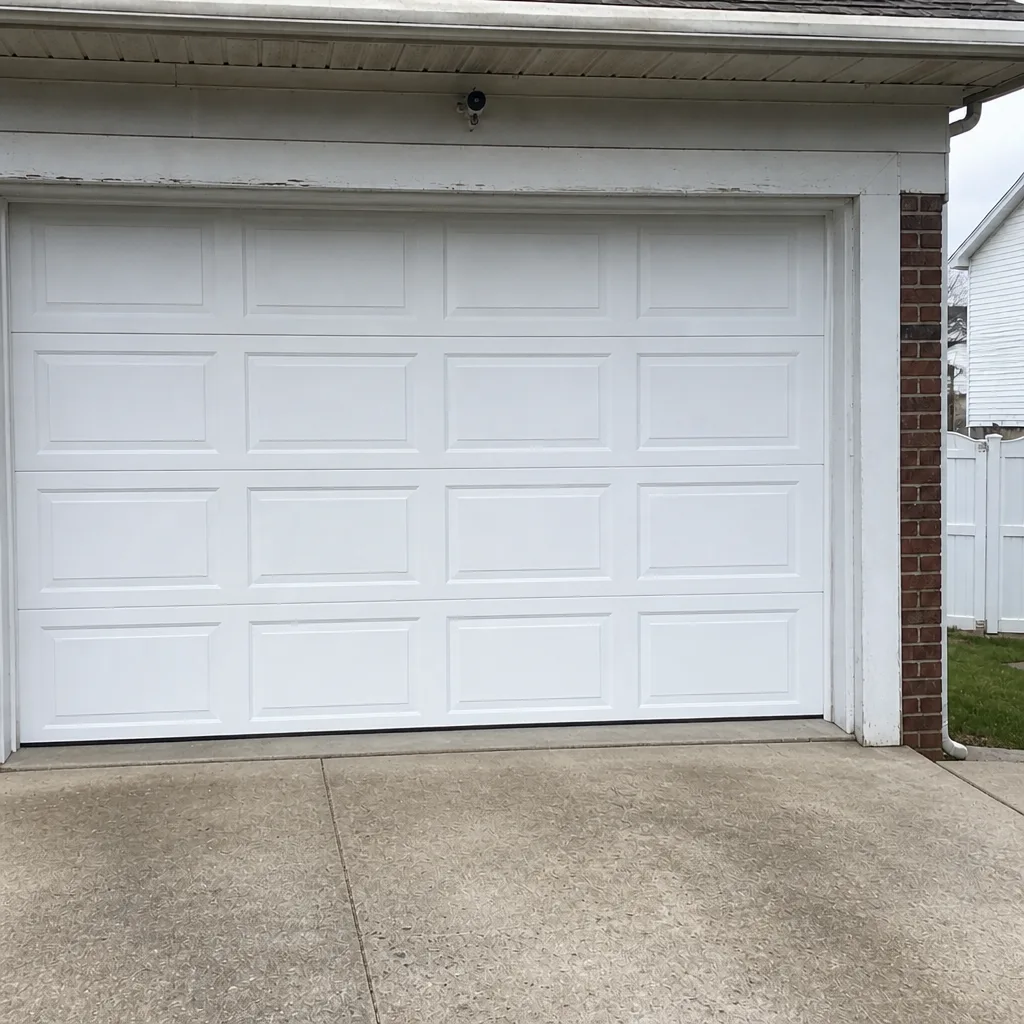 After
When to Call a Professional
Call a technician when the symptom points to a spring, a cable, or a drum, when the door hangs crooked, or when the opener’s error code points to the motor or logic board. Call when you’ve checked the sensors and they’re steady but the door still reverses. Call when you hear a loud bang from the garage and the door won’t lift by hand. And call when the door is heavy on the manual release, because that’s a spring problem and springs are the one part you shouldn’t touch. Elmhurst Garage Door Repair Pros offers free estimates in Elmhurst. Call (877) 554-9033. We answer 24/7, and fast dispatch from 7am to 7pm, Sunday through Friday, gets the right technician to your door. The estimate is free, the price is set per job by the written estimate before work begins, and there are no surprises after.
Frequently Asked Questions
Your safety sensors are almost always the cause: misaligned by a fraction of an inch, dirty, or blocked by a cobweb or leaf. Check the LED on both sensor eyes. A steady light on both means they’re aligned; a flickering or dark one is your problem. If both are steady and the door still reverses, the down limit or force setting is off, or the logic board has lost its position. Call (877) 554-9033 for an exact diagnosis; estimates are free.
No. Torsion and extension springs hold stored energy under heavy tension, and a spring releasing unexpectedly can cause serious injury even to trained technicians. The right tools and a set procedure are what keep the job safe, and a homeowner without them is taking a real risk. Have a trained technician handle spring work. Call (877) 554-9033 and we’ll get it scheduled.
It depends on the part and the door, so we don’t quote a flat number here. We give a written estimate before any work starts, and that estimate is the price. When you call, have the opener model or the brand (LiftMaster, Chamberlain, Genie, Clopay, Amarr, Wayne Dalton, Craftsman, or Raynor), the symptom, and any error code ready, and the estimate comes together faster. Call (877) 554-9033; estimates are free.
That’s a signal problem, not a dying opener. In Elmhurst’s dense rowhouse blocks, walls and neighboring garages block the remote’s radio signal. A fresh remote battery, a different remote frequency, or an external antenna can fix it. If the opener is a LiftMaster or Chamberlain smart model, check the myQ app for a fault first. Call (877) 554-9033 if it persists.
Count the flashes between pauses. On LiftMaster and Chamberlain, one flash points to sensor alignment, two to sensor wiring, five to the wall control signal, and six to a motor or logic board fault. Genie Intellicode openers use a similar code table, sometimes with beeps. Grab your model number off the motor head for the exact table. Call (877) 554-9033 and tell us the flash count; we’ll know what to bring.
In most cases, yes. We answer 24/7, and fast dispatch from 7am to 7pm, Sunday through Friday, gets a technician to your Elmhurst garage the same day for most repair calls. A call outside dispatch hours is booked into the next opening, Sunday through Friday, 7am to 7pm. The estimate is free. Call (877) 554-9033.
The Bottom Line
Most garage door problems in Elmhurst come down to five parts: sensors, springs, travel limits, the logic board, or the cables and drums. Match the symptom to the part and you know whether you’re in DIY territory or professional territory. Sensors, remotes, and the manual release you can handle. Springs, cables, and drums you shouldn’t touch. Read the opener’s error code, note the model, run the manual-release balance test, and you’ve done most of the diagnostic work before anyone arrives. That’s how you get back to working order with a straight diagnosis and no guesswork. Elmhurst Garage Door Repair Pros connects you with independent local professionals who know your brand and your garage. Call (877) 554-9033 for a free estimate.
When you’re ready to sort it out, reach out to Elmhurst Garage Door Repair Pros. We work on the brand that’s already on your home, and we’ll tell you straight what’s wrong and what it takes to fix it.
Written by the team at Elmhurst Garage Door Repair Pros.