
Last updated November 21, 2026
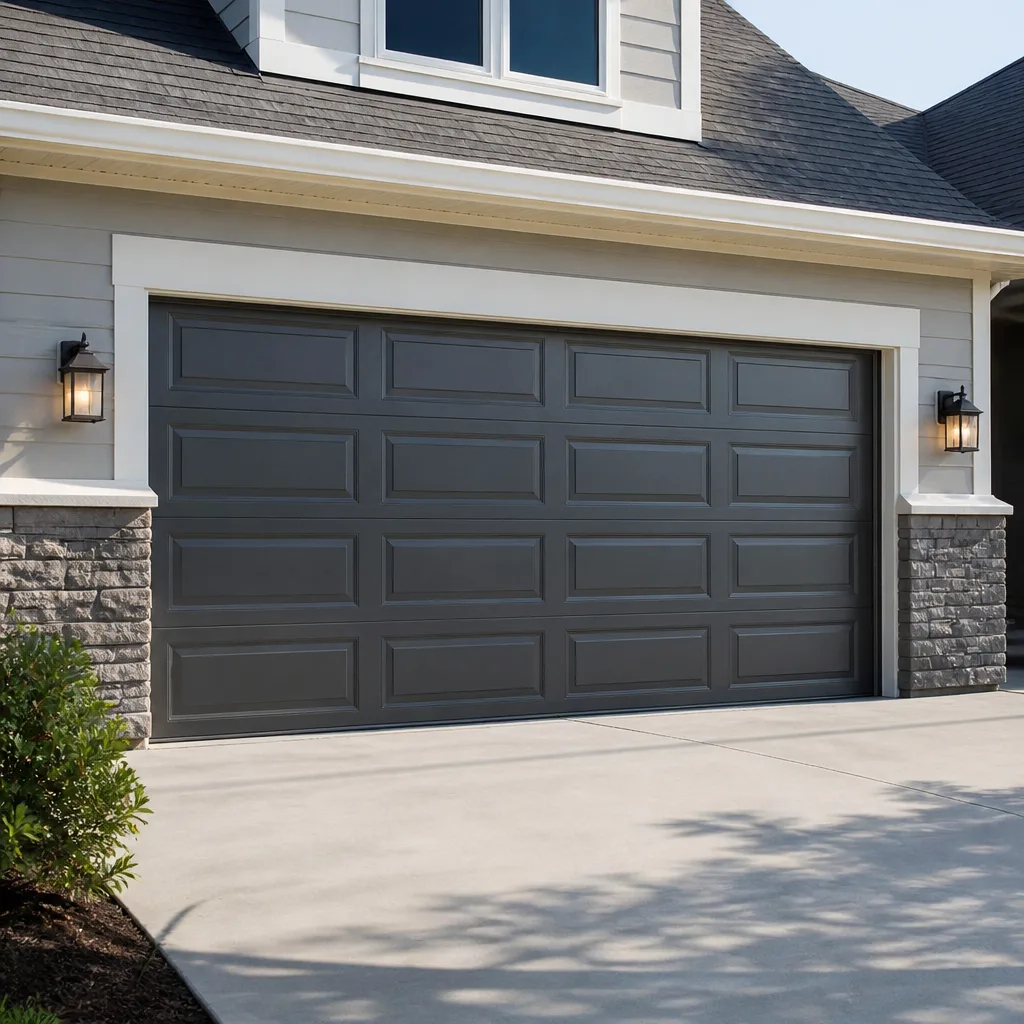 Raised-panel steel
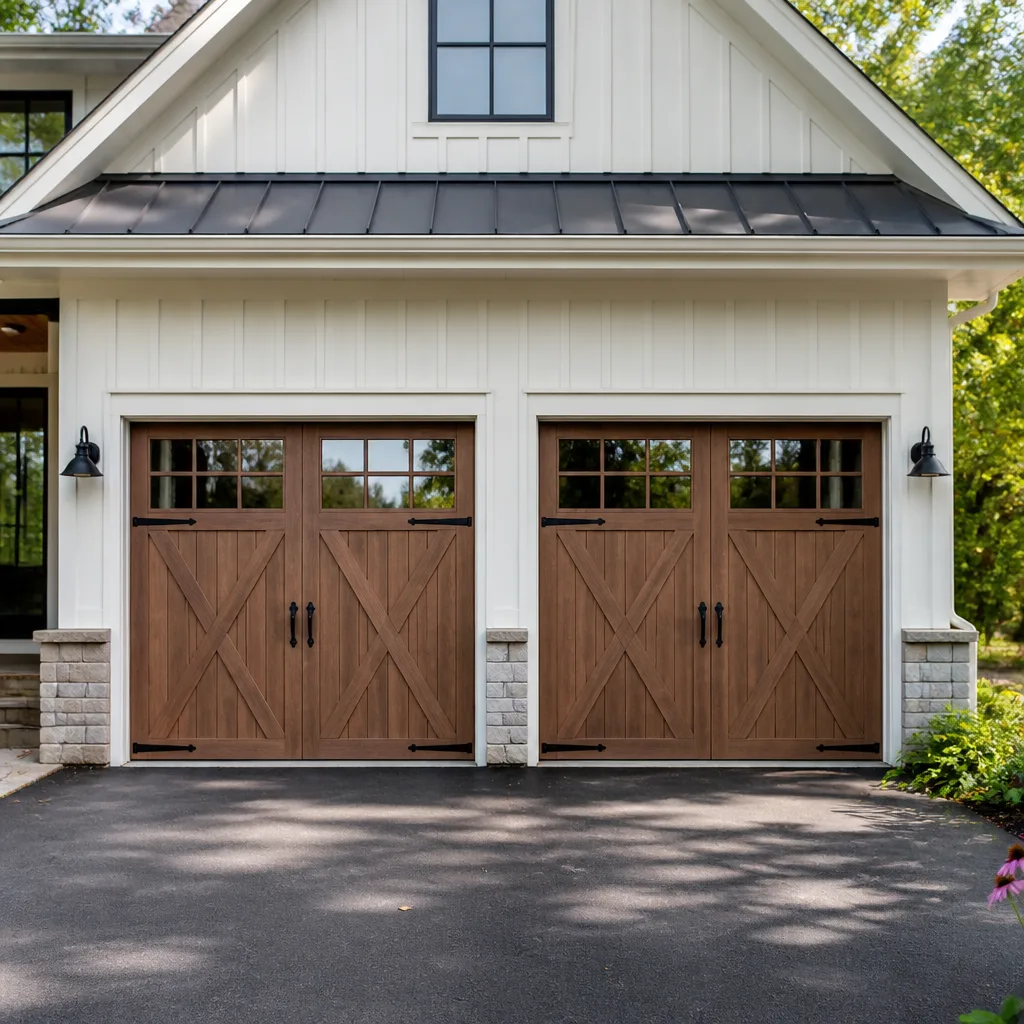 Carriage house
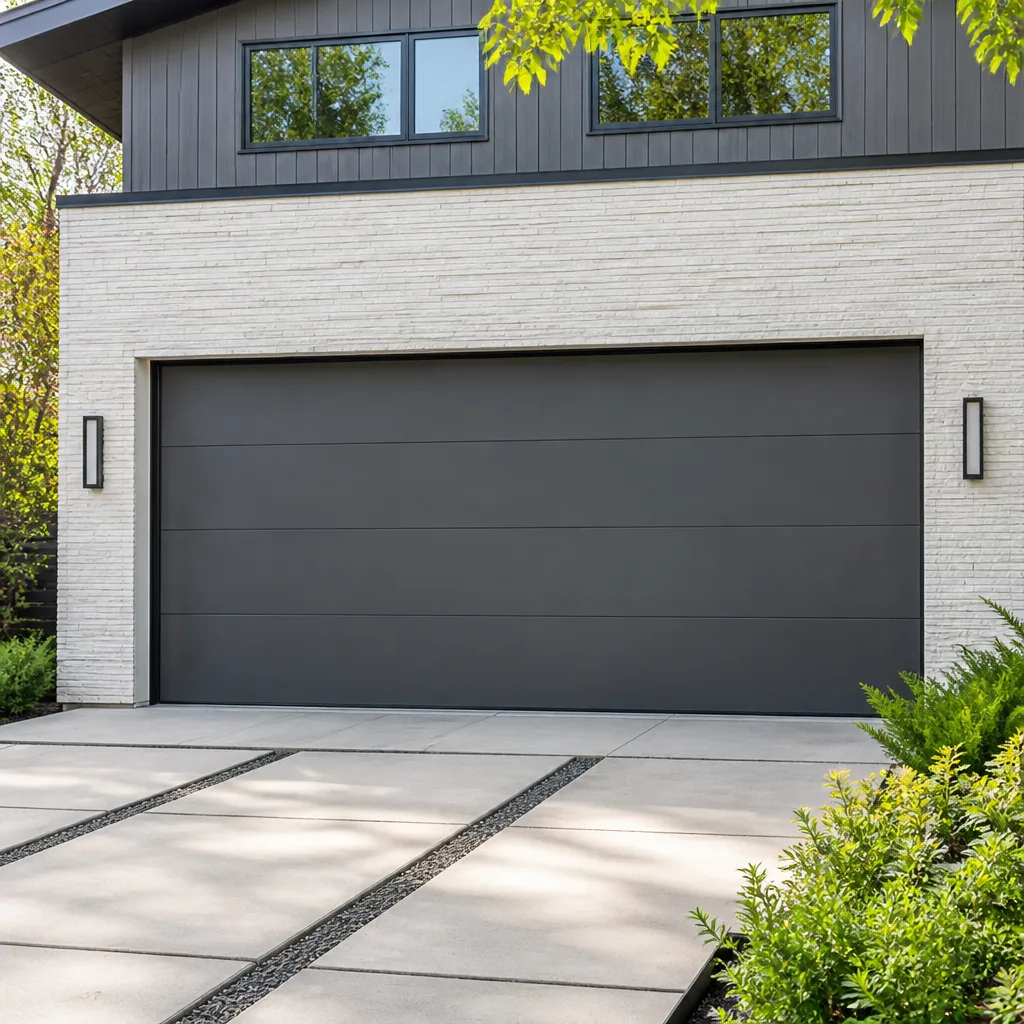 Modern flush
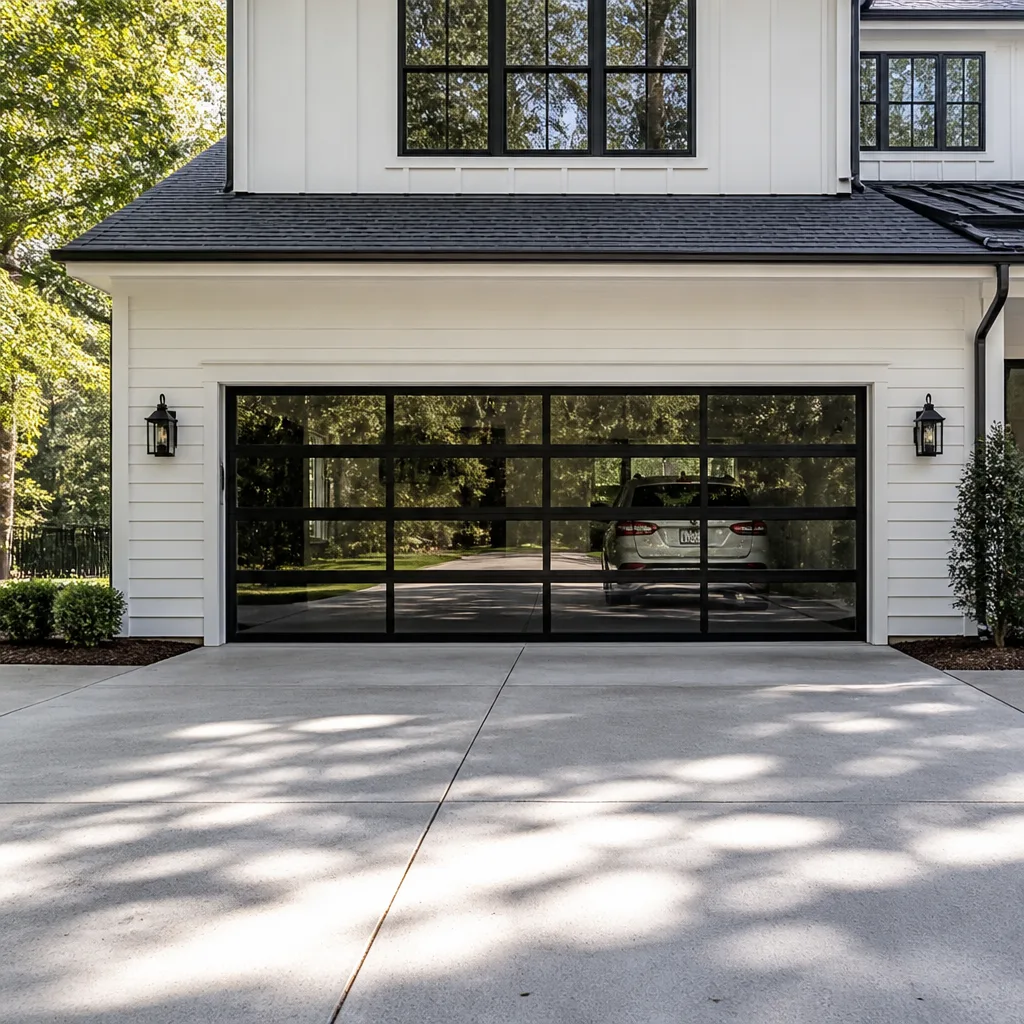 Full-view glass
 LiftMaster openers
 Chamberlain openers
Full 25-point door and opener safety check with every visit - springs, cables, rollers, tracks, and your LiftMaster or Chamberlain opener included
You get a price before we start. It does not change when the pro arrives.
Get your free estimateGarage Door Repair Maintenance Checklist for Elmhurst Homeowners
Most garage door maintenance advice tells you what to look at. That’s the problem. Looking tells you almost nothing. The number one reason Elmhurst homeowners end up with a snapped spring and a car trapped inside the garage isn’t that they skipped maintenance entirely – it’s that they spent their time on the wrong tasks and never checked the one thing that actually predicts failure: the coil gaps on the torsion spring. A single visible gap between coils means the spring has already fractured and is running on borrowed time. This guide gives you the measurements, tolerances and part names to tell a minor job from an urgent one. You’ll learn what to check, how to check it, and when to stop and call someone.
Quick Answer
A useful garage door maintenance checklist measures three things above all: torsion spring coil gaps (any visible gap means the spring has fractured and needs replacement before you cycle the door again), cable condition (two or more broken strands on a 7×19 aircraft cable and it’s replacement territory), and opener force sensitivity (tested with a 2×4 laid flat on the floor). Lubrication matters, but it’s secondary – and the most common lubrication mistake in Elmhurst, oiling the tracks, actually causes problems instead of preventing them. Do these three checks monthly and you’ll catch most failures weeks before they strand your car.
Styles & brands we work with
- Raised-panel steel
- Carriage house
- Modern flush
- Full-view glass
- LiftMaster openers
- Chamberlain openers
Table of Contents
- How to Check Torsion Spring Coil Gaps
- Lubrication Spec by Part: What Goes Where
- Cable Inspection: Counting Broken Strands
- The 2×4 Opener Force Test
- Seasonal Timing: January vs. August
- Safety Reverse and Photo Eye Checks
- Common Mistakes to Avoid
- When to Call a Professional
How to Check Torsion Spring Coil Gaps
A torsion spring with a visible gap between two coils has already fractured and should be replaced before the door is cycled again. This is the single most important check on the entire list, and it takes about thirty seconds with no tools. The spring sits on the horizontal shaft above the door opening. On a healthy spring, the coils sit tight against each other along the whole length. When the steel fatigues and cracks, the spring uncoils slightly at the fracture point, leaving a gap you can see from the floor.
Here’s how to check it:
- Close the door fully and stand back from the opening.
- Look up at the torsion spring on the shaft above the door. Use a flashlight if the garage is dim.
- Scan the length of the spring for any gap wider than a hairline between adjacent coils.
- If you see a gap, stop cycling the door. The spring is fractured and the door is being held by the cables and opener alone, which is dangerous.
- If the coils are tight and even, the spring is intact. Note the color code painted on the end of the spring – it identifies the wire gauge and length, which makes replacement faster if it ever fails.
What you should never do is try to adjust, wind or unwind a torsion spring yourself. These springs store enough energy to cause serious injury, and the winding bars and technique required are a trained technician’s tools. Extension springs, common on older doors around Elmhurst, carry the same warning. If a spring looks wrong, the correct next step is a call, not a wrench. Our garage door repair technicians check spring condition on every service visit because a fractured spring is the most common cause of a door that won’t open at all.
Lubrication Spec by Part: What Goes Where
Lubrication only helps if you use the right product on the right part. The most damaging mistake we see is oiling the tracks, which attracts dust and grit and turns a smooth steel surface into a sticky rail that makes the door drag. Use this spec instead:
- Rollers (steel or nylon): a few drops of 10W-30 motor oil on each roller stem, twice a year. Don’t soak them; a drop or two is enough.
- Torsion bar bearings and the center bearing plate: white lithium grease. A small dab worked into the bearing is all it takes.
- Hinges and pivot points: white lithium grease or a silicone spray, once a year.
- Tracks: nothing. Wipe them down with a dry cloth to remove dust. Never grease or oil them.
- Springs: nothing. Oiling a torsion spring does not extend its life and can trap grit between the coils.
The seasonal logic matters. In Elmhurst, the freeze-thaw cycle means any moisture that works into a hinge or bearing in fall can freeze and stiffen it by January. A light lithium application before the cold sets in keeps the door moving freely when the temperature drops. Skip the tracks entirely – a dry track is a clean track. If you’re hearing grinding or squealing after lubricating everything on this list, the noise is likely coming from a worn roller or a failing bearing, and it’s worth having someone look at it rather than adding more grease. Our technicians have up to 13 years of experience diagnosing exactly this kind of noise.
Cable Inspection: Counting Broken Strands
A standard garage door lift cable is a 7×19 aircraft cable – seven strands of nineteen wires each. If you count two or more broken wires on the visible length of a cable, plan to replace it. One broken wire on an otherwise clean cable is a watch item; check it again in a month. Two or more is replacement territory, because a cable that’s already lost strands is working harder with less, and it will fail at the worst possible moment.
Here’s what to look for on a visual inspection:
- Fraying or “birdcaging”: where the strands separate and spread like a birdcage. This means the cable is failing.
- Kinks or sharp bends: a kinked cable has lost strength at the bend and will break there.
- Rust staining or brown discoloration: rust weakens the individual wires and is a sign the cable is old.
- Uneven tension side to side: one cable noticeably looser than the other usually means a problem with the drum or the spring balance.
Cables run at high tension and are under load whenever the door is up. Don’t try to adjust, reroute or re-terminate one. A cable that snaps under tension can whip with enough force to cause injury, and getting the tension right on both sides requires knowing the spring balance. If you spot any of the conditions above, treat it as a same-day call. Our Elmhurst Garage Door Repair Pros team keeps the inspection straightforward and tells you whether the cable needs replacing or just watching.
The 2×4 Opener Force Test
The 2×4 force test tells you whether your opener will reverse when it hits an obstruction, and it’s a better real-world test than the manufacturer’s adjustment dial alone. Lay a 2×4 flat on the floor in the middle of the door opening, then close the door with the remote. The door should contact the 2×4 and reverse within about two seconds. If it doesn’t reverse, or it pushes down hard before giving up, the force is set too high and the safety system won’t protect a person or a pet.
For LiftMaster and Chamberlain openers, sensitivity is usually adjustable through the opener’s menu. The exact path varies by model, so check the manual that came with your unit – the two common routes are:
- Learn button method: press and hold the learn button until the LED blinks a set number of times, then use the up/down arrows to adjust force and press the button again to save.
- Menu method (myQ-era models): navigate to the “Force” or “Travel” menu, adjust with the arrows, and confirm. Changes save automatically on most newer units.
Don’t turn the force all the way down in response to a door that’s binding – a door that needs high force to close usually has a mechanical problem (a bent track, a worn roller, or a spring that’s lost tension), and forcing the opener to fight it just wears the drive system faster. Adjusting force within the recommended range doesn’t void a warranty; overriding a limit or modifying the safety reverse does. If the door won’t pass the 2×4 test even after adjustment, it’s an opener or door issue that needs a look. Our garage door opener repair covers LiftMaster, Chamberlain, Genie and Craftsman units, so you don’t have to guess which model you have before you call.
Seasonal Timing: January vs. August
Some maintenance tasks matter more at certain times of year, and in Elmhurst the split is clear. Before January, the priority is the spring tension and the door’s balance – cold steel contracts, lubricants thicken, and a spring that’s near the end of its life is more likely to fail on the first cold morning of the year. Before August, the priority shifts to the weather seal and the door’s fit against the frame, because summer humidity and the occasional heavy rain put the bottom seal and the perimeter weatherstripping under the most stress.
Here’s the split:
- Fall, before January: check spring coil gaps, test door balance by hand (a balanced door stays put when stopped halfway), lubricate hinges and bearings with lithium grease, and listen for any new noise on open and close.
- Spring, before August: inspect the bottom weather seal for cracks or flattening, check the perimeter seal for gaps, clean the tracks with a dry cloth, and test the safety reverse and photo eyes.
- Year-round, monthly: the spring coil gap check and a quick visual on the cables. These two take under a minute together.
Humidity matters more than most people realize. The bottom seal on a garage door is a rubber or vinyl strip that flattens over time, and once it’s compressed it lets humid summer air and rainwater under the door. That moisture finds its way onto the door’s bottom section and the floor of the garage, and in a poorly ventilated garage it accelerates rust on the bottom panel and the track. Replacing a worn bottom seal is inexpensive compared with replacing a rusted-out bottom section. If you notice water on the garage floor after a heavy rain, check the seal before assuming the door itself is leaking. For homeowners considering a full replacement rather than another round of maintenance, our garage door installation team works with Clopay, Amarr and Wayne Dalton doors and can walk you through what your current door’s condition actually justifies.
Safety Reverse and Photo Eye Checks
The photo eye test is the simplest safety check you can do, and it’s also the one most often skipped. With the door open, wave an object across the path of the photo eyes (the two small lenses near the bottom of the tracks) while the door is closing. The door should reverse immediately. If it doesn’t, the opener’s safety system has failed and needs repair before the door is used again.
Both the force test and the photo eye test protect the people and pets in your household. The Consumer Product Safety Commission requires that openers manufactured since 1993 include both an automatic reverse feature and a photo eye system, which means any opener on the market in Elmhurst should have these features. If your opener is older than that, or if either test fails, the correct move is to stop using the door and have the opener serviced. A door that won’t reverse on contact is a hazard, and no amount of lubrication or adjustment will fix a failed safety sensor. Check the photo eyes monthly, along with the spring gap check.
Common Mistakes to Avoid
- Oiling the tracks. It’s the most common mistake, and it makes the door drag by attracting dust and grit. Wipe the tracks dry instead.
- Ignoring a visible spring gap. A gap between coils means the spring has fractured. Using the door in that condition strains the cables and the opener and can lead to a much bigger repair.
- Turning the opener force all the way up to fix a binding door. The force adjustment is a safety setting, not a fix for a mechanical problem. Find the cause instead.
- Testing the safety reverse with your hand or foot. Use a 2×4 on the floor. Testing with a body part is exactly the scenario the safety system is meant to protect against.
- Skipping the cable inspection because it’s hard to see. A flashlight and thirty seconds will show you fraying, birdcaging or rust before it becomes a snap.
- Waiting until the door fails to check the balance. A door that’s heavy to lift by hand or won’t stay put halfway tells you the spring is losing tension weeks before it breaks.
- Assuming a new-sounding noise is normal. A grinding or squealing that wasn’t there last month usually means a worn roller, a failing bearing or a track that’s out of alignment.
When to Call a Professional
Some of this checklist is genuinely do-it-yourself work: the spring gap check, the cable visual, the photo eye test, the 2×4 force test. Others are not. Call a technician if you find a gap in the torsion spring coils, if you count two or more broken strands on a cable, if the door won’t pass the 2×4 or photo eye test after adjusting the force within the recommended range, if the door is noticeably heavier to lift than it used to be, or if the opener runs but the door doesn’t move. These all point to high-tension components or drive-system problems that need the right tools and training.
Elmhurst Garage Door Repair Pros offers free estimates in Elmhurst – call (877) 554-9033. We answer 24/7. Fast dispatch from 7am to 7pm, Sunday through Friday. The price is set per job by the written estimate, and it’s quoted before any work starts.
See the difference
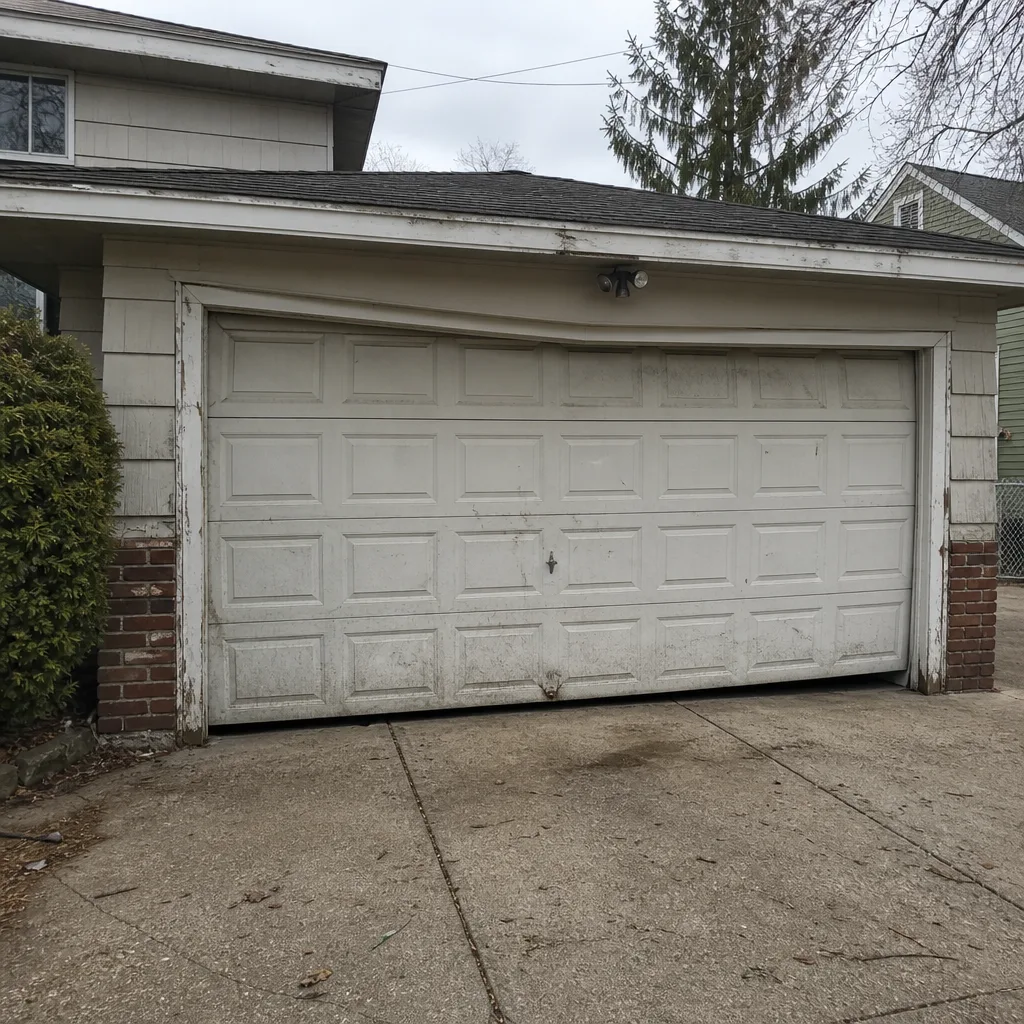 Before
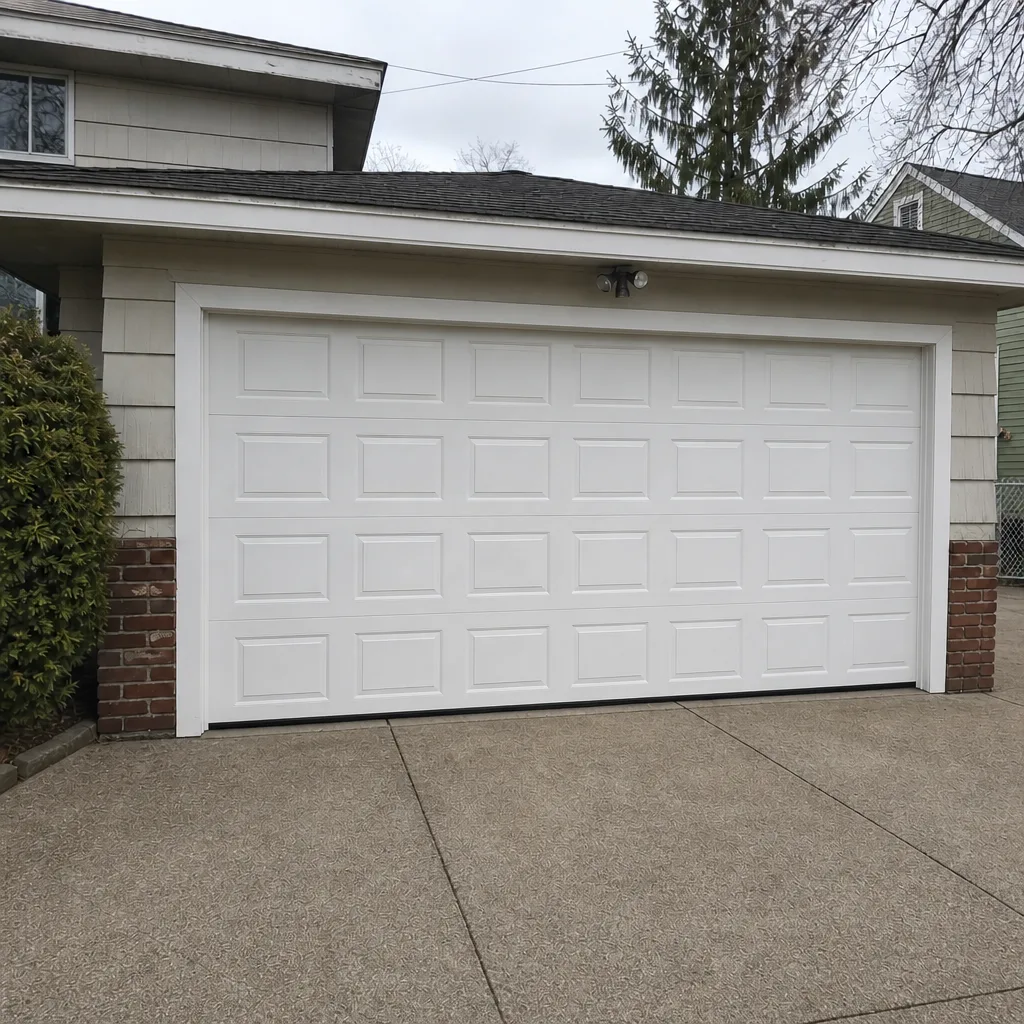 After
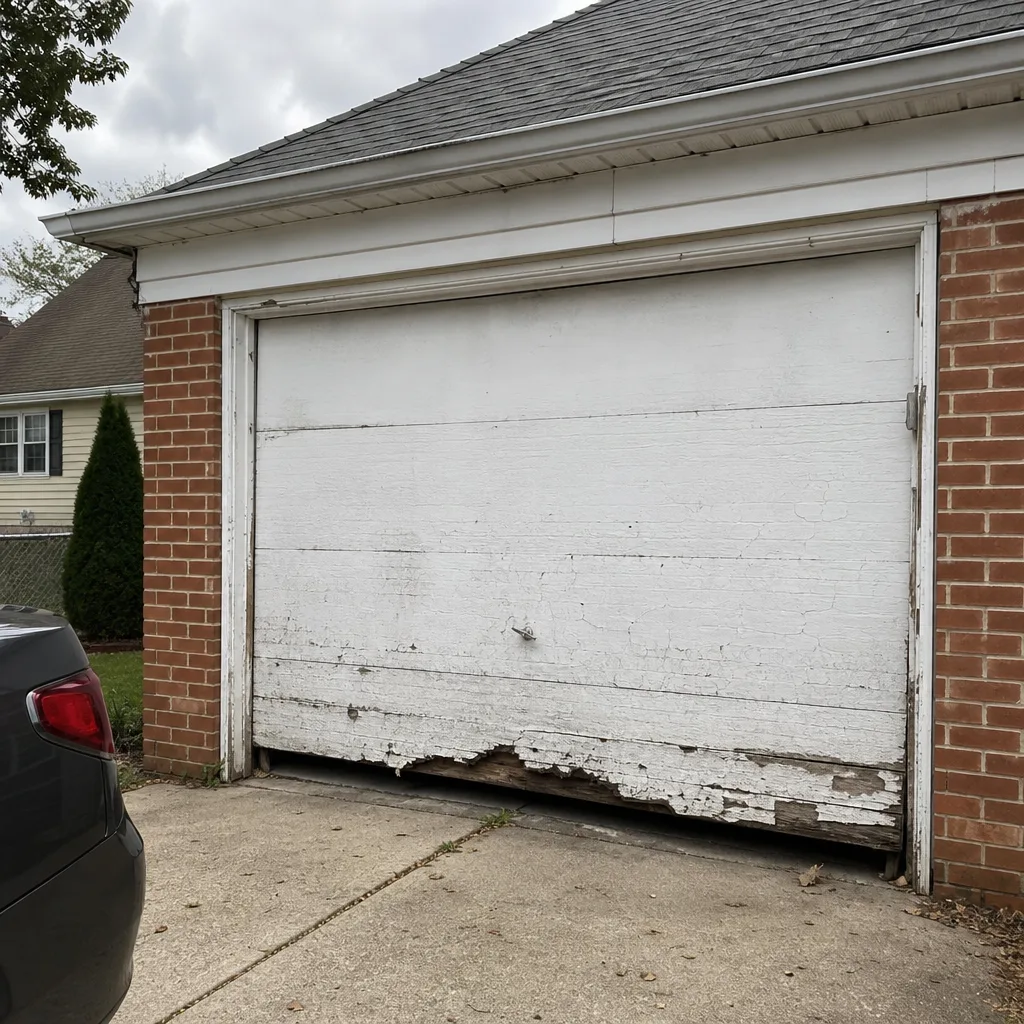 Before
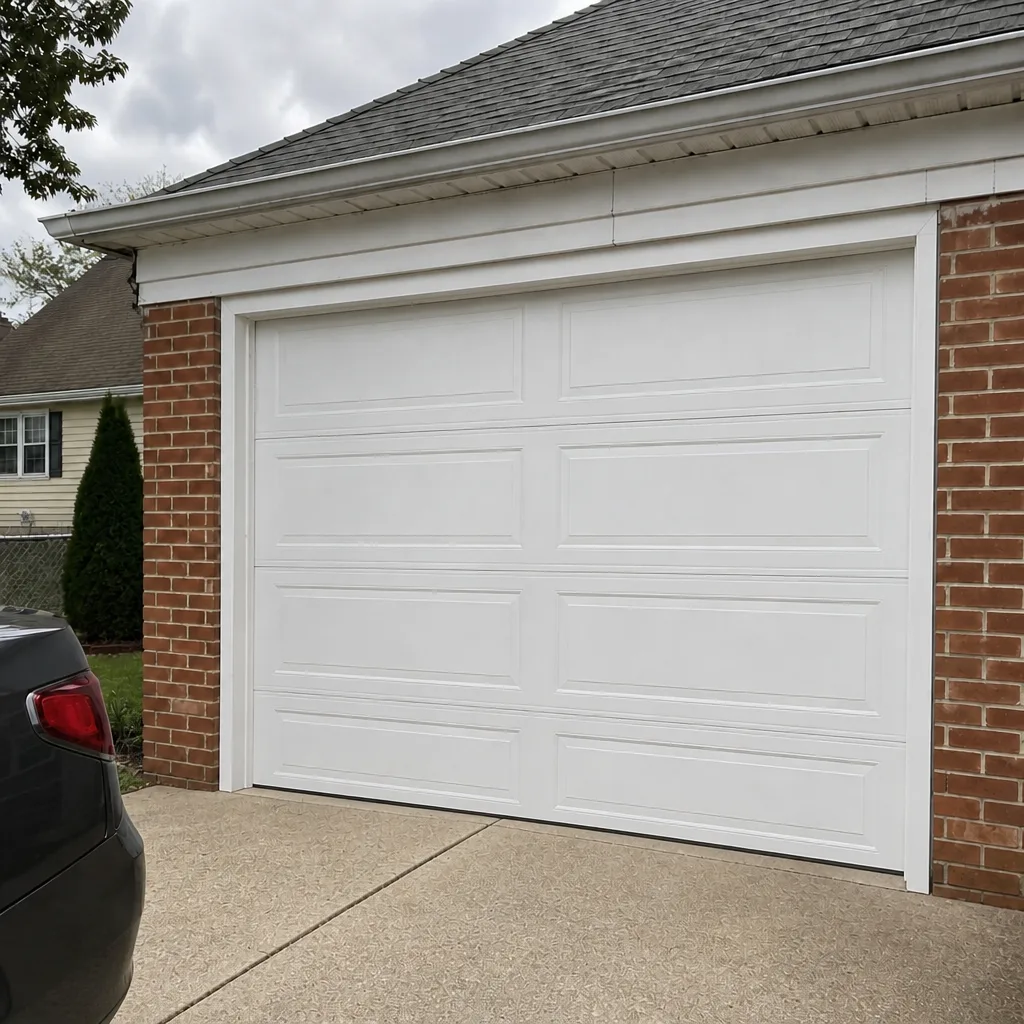 After
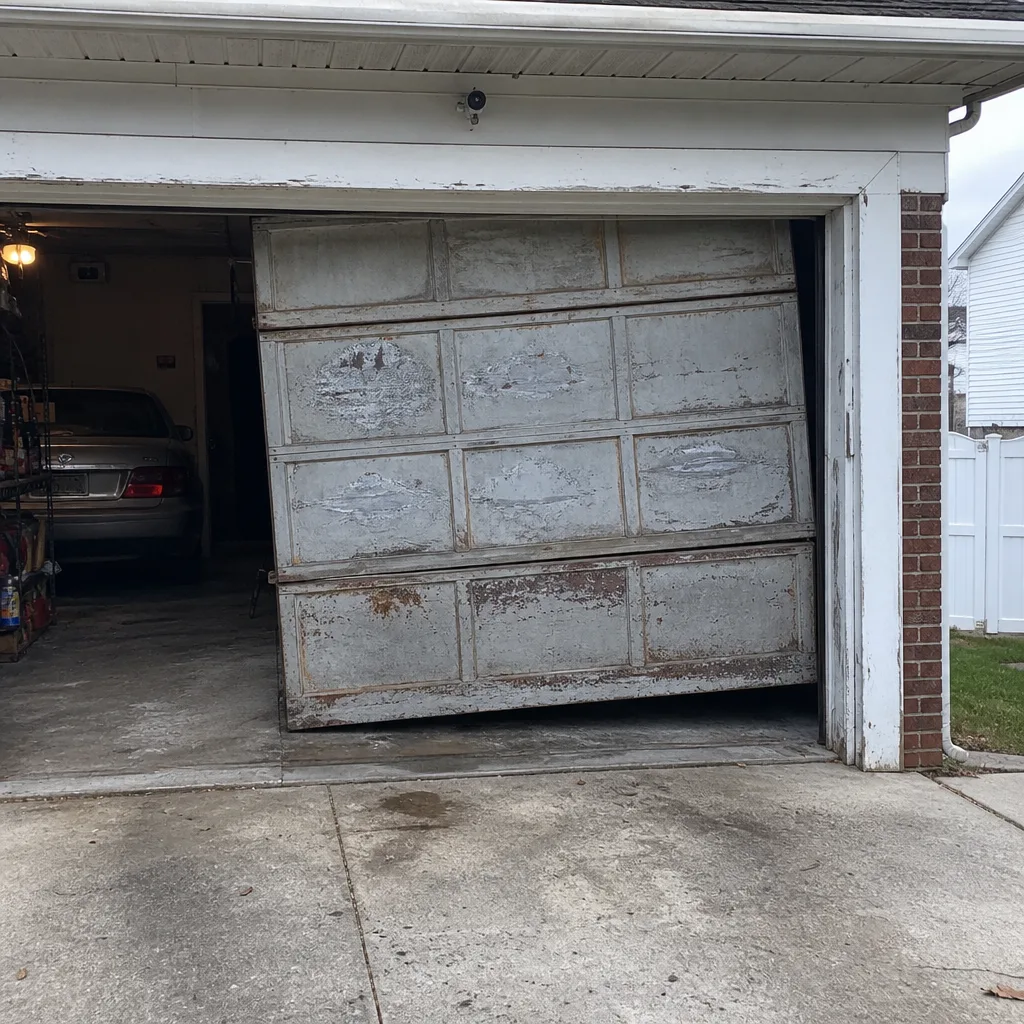 Before
 After
Frequently Asked Questions
Check the torsion spring for coil gaps once a month – it takes about thirty seconds and needs no tools. Any visible gap between coils means the spring has fractured and should be replaced before the door is used again. In Elmhurst’s winter cold, a spring that’s nearing the end of its life is more likely to fail, so the monthly check matters most in the fall and early winter.
A visible gap between coils means the spring has already fractured at that point. The spring is no longer holding its full load, and the door is being carried by the cables and opener alone. Stop cycling the door and call for service – this is not a wait-and-see situation. Call (877) 554-9033 for an exact quote; estimates are free.
Yes, within the recommended range. Adjusting force without overriding the safety limits doesn’t void the warranty. Use the learn button or the menu path in your model’s manual, then retest with a 2×4 on the floor. If the door still won’t pass the 2×4 test after adjustment, the issue is mechanical, and a technician should look at it. Call (877) 554-9033 for a straight diagnosis.
No. Garage door tracks should never be lubricated – they should be wiped clean with a dry cloth. Oil or grease on the tracks attracts dust and grit, which makes the door drag and can wear the rollers faster. Lubricate the rollers, hinges and bearings with the right products instead, and leave the tracks dry.
Lay a 2×4 flat on the floor in the middle of the door opening and close the door with the remote. The door should contact the board and reverse within about two seconds. Never test the safety reverse with your hand or foot – the system is designed to protect against exactly that kind of contact.
Usually, yes. A door that’s noticeably heavier than it used to be, or won’t stay put when stopped halfway, is showing that the spring is losing tension. It can also point to a worn roller or a track issue, which is why the balance test is worth doing alongside the spring gap check. A technician can tell the difference quickly. Call (877) 554-9033 for a free estimate.
The Bottom Line
The maintenance tasks that actually prevent emergencies are the ones with a specific measurement attached: a coil gap you can see, a strand count you can check, a 2×4 on the floor, a door that reverses in two seconds. The lubrication tasks matter, but they’re secondary, and the most common mistake – oiling the tracks – causes more problems than it prevents. Do the spring gap and cable checks monthly, run the force and photo eye tests, and time your bigger tasks to the season: spring tension before January, weather seal before August. If any of the checks fail, or if you’d rather have a trained technician handle the high-tension components, we’re a call away.
Call Elmhurst Garage Door Repair Pros at (877) 554-9033 for a free estimate. We answer 24/7. Fast dispatch from 7am to 7pm, Sunday through Friday. We work on LiftMaster, Chamberlain, Genie, Clopay, Amarr, Wayne Dalton, Craftsman and Raynor equipment – whatever brand is already on your door.
Written by the team at Elmhurst Garage Door Repair Pros.